I am a scientist who loves to cook because there are many similarities between working in a lab and cooking in a kitchen. I love to share my cooking experience with you and to inspire others to cook.

Wednesday, February 22, 2012

Meringue Cookie


If you have been following this blog since the beginning, perhaps you remember my experience with making Meringue. My first attempt in making meringue failed because I was inexperienced. I have since learned a few things and I have been waiting for the right opportunity to redeem myself. I made Tiramisu cake recently and was left with extra egg whites, and thus an opportunity presented itself.


Ingredients:
3 egg whites
some sugar (this needs to be finely adjusted according to taste)

Instructions:

1. Preheat the oven to 200F. This is one important lesson that I learned from my mistake. You want to bake the meringue at low heat for an extended time.
2. Beat the egg whites with a handheld mixer in a metal bowl. This is something they never emphasize in a recipe book. Never ever beat egg whites in a plastic bowl. There is a reason behind this and it involves some chemistry knowledge. It is too long for me to describe it but if you are curious, simply do some web search.

3. Keep checking the beat egg white until stiff peaks starting to form. Sorry, I don't have the space to describe what a stiff peak is. You can do some homework here.

4. Once stiff peaks are forming, add a couple tablespoon of sugar to the beat egg white and give it an additional mix for a few seconds. The amount of sugar can be adjusted based on your preference.

5. Lay down a piece of parchment paper (ESSENTIAL) on a baking sheet and scoop the meringue on to the baking sheet.

(if you want perfectly shaped meringue, then you will need a pipping bag, the kind people use to apply frosting/icing/whipped cream on top a cake)

6. Bake the meringue for 1 hour. You can take one out to test the doneness.


I only had meringue cookie twice and both times were cookies made by myself so I have no idea how should meringue cookies taste or feel like. This meringue cookie breaks apart easily and tasted like cotton candy. I think I might have used too much sugar because the sugar melts in my mouth and sticks between the teeth.

Second time is a SUCCESS!!


Thursday, February 16, 2012

Rice Milk/Horchata


My aunt used to make Rice Milk whenever she visited us and that was my first time trying rice milk. Before that, I have never associated rice as a beverage since it was more common to have soy milk and cow milk.

Then a few years ago, my friend introduced me to a neighborhood Mexican restaurant and we ordered rice milk, also known as horcharta. I fell in love with this drink and since then, I have always ordered horcharta at every Mexican restaurant that I ate at.

I always find the restaurant Horcharta over-sweetened and either too thick or too thin. Also, many horchatas that I tried were made from instant rice powder that tasted artificial. Therefore, I have decided to make my own rice milk as inspired by my aunt.

The first time I tried making rice milk turned into a disaster and I learned a few tips which I would like to share with you.

Ingredients
(serving: 4 glasses of rice milk, could be more or less depending on your preferred consistency)

1 cup of rice

(many recipes suggest long grain rice, some use Basmati rice. I used medium grain Botan rice, just because this is the rice that I eat. My point is, if you already have rice at home that you use, there is no need to find the exact kind of rice. I think any rice will work unless you are a purist/traditionalist).

Sugar
Cinnamon power
vanilla extract

Equipments
Blender
Sieve/Cheese Clothe

 
                         Thanks CL for the gift of this blender

Instructions
1. Mix 1 cup of rice with 4 cups of water.
2. Blend the mixture at high speed until most of the rice particles are broken down into tiny bits.
3. Let this mixture sit at room temperature for 30-60 minutes.


                                                          Unfiltered rice milk


4. Filter the rice milk through the sieve/cheese clothe or in my case, an oil screen http://foodmolecule.blogspot.com/2011/09/salmon.html
5. Heat the rice milk under low heat for about 10 minutes, stir occassionally
(At this point, you will see some gooey cooked rice forming)
7. Turn off the heat, filter the rice milk one more time.


This is essentially the finish product. What's left is adjusting the consistency of the rice milk to your preferred consistency. If you want a thick rice milk, return the rice milk to the heat and keep simmering but if you want thin consistency, simply add more water. Next, add sugar to sweeten the rice milk. You can consume this rice milk when it is hot/warm/cold. Again, entire up to you. Also, a sprinkle of cinnamon and a splash of vanilla extract right before consumption rounds out this drink. 


How is my Horchata compare to restaurant-version? First thing that I noticed is that my homemade rice milk is rice color, which is translucent white. It is not "creamy/pearly white" like the ones in the restaurant, which is a sign of artificial coloring. Second, the rice flavor does shine in my homemade rice milk unlike the restaurants' which are over-sweetened or tasted artificial.

One last thing, I am surprised how little rice milk a cup of rice grain yields, which is not a lot. If you want one week worth of rice milk for a party or for yourself, you might need at least 5-6 cups of rice.


Sunday, February 12, 2012

Tiramisu Cake

This dessert needs no introduction, it is one of my favorite desserts. As it turns out, it is a very simple dessert to make. 

The recipe that I used is by Giada, which is very standard compare to all other tiramisu recipes. As usual, I made some slight modifications. Here is Giada's recipe http://www.foodnetwork.com/recipes/giada-de-laurentiis/tiramisu-recipe/index.html


Ingredients (serves 4; everything in here is half of the original recipe)
 
3 egg yolks
1.5 tablespoon sugar
0.5lb of mascarpone cheese
1/2 cup of expresso, cooled before used
12 ladyfingers (in my case, I couldn't find ladyfingers, so I used loaf cake, which I thinly sliced)
A piece of dark chocolate (any chocolate from the candy section is fine)
Rum/amaretto (I did not use this because I don't have any)

Instructions

1. In a large bowl, beat the egg yolks and sugar until the mixture turns thick and pale. (Yes, the yolk mixture will turn white)
2. Add the mascarpone cheese and continue beating the mixture until smooth.
3. Add 1 tablespoon of expresso and mix thoroughly.

Arranging the tiramisu cake

1. This is where I use a technique which defers from others. In most recipe, you soak the ladyfingers in the coffee. However, this will cause the ladyfingers to break apart very easily. Instead, I use a spoon to drizzle the coffee over the ladyfingers after I lay them down.

2. Place a layer of ladyfingers at the bottom of a pan/large bowl. Add a scoop of the egg/cheese mixture over the ladyfingers.

3. Sprinkle some shaved chocolate.

4. Repeat step 2 and 3.


How did I do with my first (surely will not be my last) try? My food tasters used the following words to do describe it "light", "not too sweet", "just the right cheese and cake ratio"(this can be attributed to the way I plated my tiramisu cake as I added lots of cheese mixture on top of thinly sliced caked).

I am not afraid to say that this was a successful try. Delicious is an overused word in describing food but there is not better word. DELICIOUS!!


Footnote:
According to my Italian friend, traditional tiramisu cake is served in a bowl, not a plate and it shouldn't be served like a conventional cakes, which are sliced. 

Friday, February 3, 2012

Steamed Eggs


I have been cooking steam eggs for a few years now but I could never get the silky consistency that I grew up eating at the hawker stalls. Then one day at a party at CC's apartment, she told me that the trick is to beat the egg GENTLY. In fact, don't beat it, just slowly break the yolk and mix it with the egg white, as GENTLY as possible. I have clearly broke this number one cardinal rule of making silky soft steam eggs. 

With that new knowledge, I set out to make steam eggs again.


Ingredients:


4 eggs
2.5 cups of water
chicken bouillon or substitute the water with chicken stock.

Instructions: (start with a bowl that can hold about 4-5 cups of water)


1. Very GENTLY break the egg yolks with the fork.
2. I mixed the yolk and the white by lifting the it with the fork and letting it sift through the fork. (However you want to mix this, just be GENTLE with it. )
3. Once the yolk and white are completely mixed (this takes time and patience and you will avoid having lumpy yolk as a result of heterogenous mixture), add the water/chicken stock.
4. Again, GENTLY mix the content together


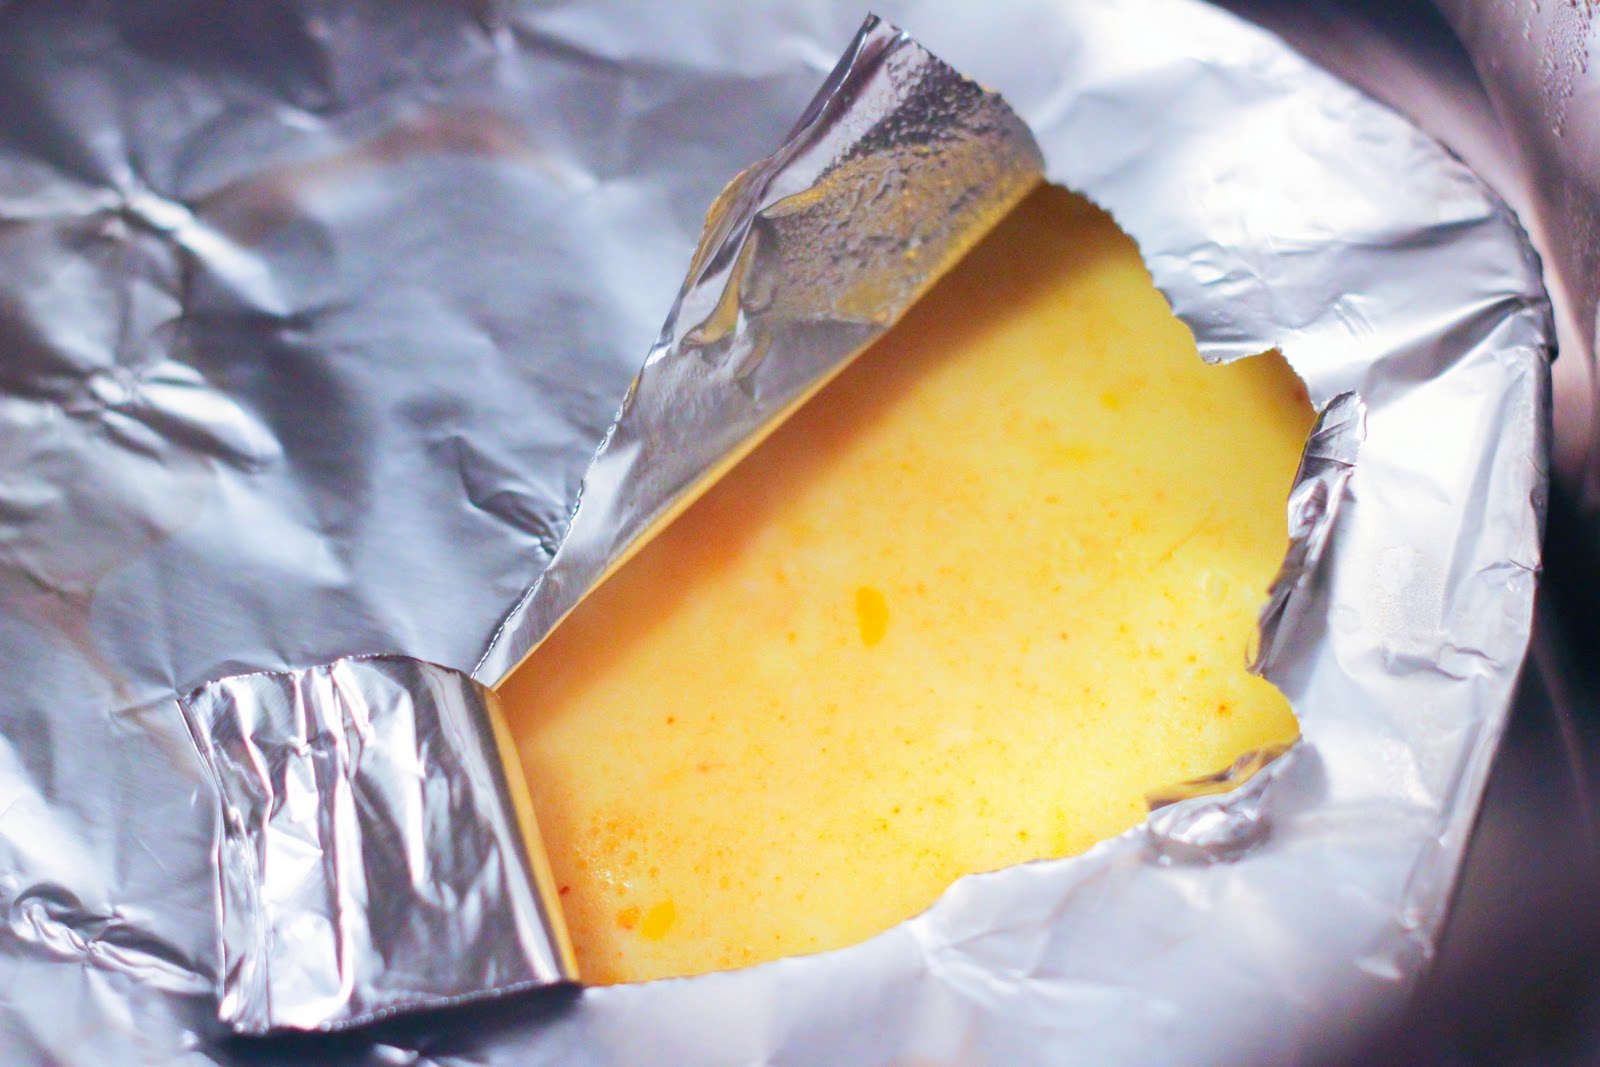
5. Cover the bowl with an aluminum foil and steam the eggs for at least 20 minutes.


6. At this point, you can peel the aluminum foil to check the doneness of the steam egg.


7. Serve


Was I successful? You bet. Just one simple tip and I was able to recreate "childhood". When you combine the taste of eggs with the taste of soup, what you get is a divinely pure flavor. It is so good, I feel that I can just eat this as a meal without anything else.

Some of the things that you can add into this dish are minced pork, or shrimp, which will definitely enhance the flavor. Think about the egg as a blank canvas!


Friday, January 27, 2012

Pasta with Homemade Tomatoe Sauce and Sweet Italian Sauage


I have been making this dish for years since I discovered the beauty of Sweet Italian Sausage. Sweet Italian sausage is available everywhere and it comes readily seasoned. I looked up wikipedia and found out that the unique flavor of sweet Italian sausage comes from the multitude of fennel seeds used. 


As usual, this is such a simple dish that requires only 3 main ingredients. If you minus the pasta, there are essentially only two ingredients. The other one being the tomatoes.

Pasta, sweet italian sausage, and tomatoes. It does not get any easier than this, folks!

Let's dive in.

Ingredients (4-5 servings):
4-5 Sweet Italian Sausage
4 large tomatoes or two boxes of small tomatoes. Roughly chopped into small pieces
Pasta


Seasonings: salt, pepper, butter, and Parmesan Reggiano cheese


Instructions:
1. Remove the sausage skin and combine the sausage meat.
2. Form the sausage meat into smaller patties.


3. Heat some oil in a pan and cook the sausage meat

        I am probably the only one in the world who makes pasta sauce in a wok and you will see why


                                                  There were a lot of meat to be cooked
 

4. Add the tomato and cook it with the sausage meat


5. Cover the pot and simmer it in medium heat until the tomatoes break down and juices are all out.


                                  My wok did not come with a cover so I had to improvised


                                           The tomatoes are starting to break down
 
                               Almost there. All the juices you see there are pure tomato juice


6. Add a big dollop of butter (nope, won't apologize for this). Season the sauce with salt and pepper.
7. Continue cooking until the sauce thickens to your desired consistency. Not too thick, not to liquidy.
8. Cook some pasta and pour the sauce over the cooked pasta. Add some shaved cheese and freshly ground pepper.


It is hard to screw up this dish because there are so few ingredients and steps. It is also one of those fantastic dishes where you can cook a lot of the sauce in advance and store it for a few days or freeze it for longer storage.

Since the Italian sweet sausage came already well-seasoned, there isn't much seasoning left to do except salt and pepper. The tomatoes with its sweetness, tangy-ness, and freshness are flavorful enough and there is no need to mess with the sauce any further.

I will eat this pasta anytime of the day and anytime of the week. It is so simple to make and did I say DELICIOUS?

For more variations, you can definitely add frozen green peas, mushrooms (yummy), or carrots 


Monday, January 23, 2012

Homestyle Pork Chop


This is my ultimate "mom's dish". It is easy to prepare, easy to cook and delicious. If you have been following my blog, you would notice that I am a big fan of dishes that require very few ingredients and very few steps. Except the occasional elaborate experimental dishes such as the Curry Puff or the Butterscotch Flan.

How easy is it to make this "mom's dish" pork chop? Follow along!

Ingredients (serves 4)
1 lb of lean pork shoulder/pork butt/肉眼 (if you shop at the chinese grocery store)
soy sauce
salt
pepper
Five Spice powder
corn starch
ginger (optional)

Instructions
1. Slice the pork into half an inch thick.
2. Use the back of the knife and pound the pork until it is flat.  (time to make some noises!!! A good way to release some stress and anger, make sure you follow precautionary steps)


                                               Pork chops after being pounded. Pardon my sloppy slicing


3. Transfer the pork into a container and marinate the pork with 3-4 tablespoon of soy sauce, 1 teaspoon of five spice powder, a pinch of salt and a pinch of pepper.
4. Marinate this for 1 hour at room temperature, or in the refrigerator for >1 hour. You can marinate it overnight too.
5. Take the pork out from the container and rub some freshly grated ginger over it (mom actually does not do this).


6. Pat the meat with generous amount of cornstarch to create a thick layer of coat.


7. Heat about 2 tablespoon of oil in a non-stick pan and transfer the meat to the pan when the oil is hot.
8. "Fry" each side of the pork at medium heat for about 5 minutes. Keep an eye on the amount of oil in the pan. Since cornstarch soaks up oil, it will be necessary to add a little more oil.
9. "Fry" the pork until the cornstarch turns golden brown and very slightly charred at some places.
10. It is time to serve.


                                        Battle of two pans! The non-stick pan is definitely the winner


                                        Not quite ready. Needs to be a little crispier than this


                                                                    until it becomes likes this


Non stick pan might win the cooking battle but stainless steel pan created the most delicious thing on earth. Scraps!!


Everytime I think about mom's food, I think about this dish. The outer layer of the pork is crispy and the meat inside is still succulent. This dish does not use as much oil as the traditional fried pork chop. You can serve this with a plain bowl of rice like I did, or pasta or between two slices of bread, like a sandwich!

This pork chop definitely stores well in the refrigerator for a couple of days so you can make a few more pieces in advance.

What do you think of when you think about "mom's dish"?

Oh, one last thing. For extra crispiness, you can coat the pork with an EXTRA layer of panko bread crumbs!


Wednesday, January 18, 2012

Nothing to do with food

Here is a post that has nothing to do with food. I was first inspired by beautiful food photographs on other people's websites, as one friend puts it this way "It is like food-porn" (pardon the language) and she is right. A successful food photograph achieves one simple goal - you want to jump into the screen and consume it (no analogy intended).

My first step towards taking good food photographs came with the purchased of the T2i. My second step, thanks to SL, was the purchased of an interestingly shaped bowl. Then I learned how to use Lightroom photograph processing software.

After looking at photographs upon photographs upon photographs of food, I am starting to build a list of commonality between those food photography.

1) unique background surface, usually wood surface
2) simple, accented napkins
3) utensils, bowls, plates of all kinds/materials/shapes/colors
4) garnish, raw materials (ie: slices of apples/vanilla beans),
5) I am not certain about this but many of these photographers use extensive equipments such as monolight, softbox, tripods, and reflectors. 
6) others.