I am a scientist who loves to cook because there are many similarities between working in a lab and cooking in a kitchen. I love to share my cooking experience with you and to inspire others to cook.

Friday, December 28, 2012

Pan seared lamb loin chop with mint sauce


I have never cooked lamb in my entire life but I do enjoy the occasional grilled rack of lamb or roasted lamb shank. Growing up, I remember accompanying dad to various large dinner events and the really posh parties would have on-site whole roast lamb. The meat were usually sliced infront of me and served with some mint sauce. This mint sauce is what I remember the most, something that has etched into my memory.


I stopped by the grocery store one fine morning and splurged on a few pieces of top quality "rack" of lamb (it is no longer in a rack, what should I call it once it has been broken down into individual pieces? update: Thanks Aleena for pointing it out it is simply called "Lamb Chop")


Cooking the lamb should be straightforward but making the mint sauce can be a little tricky. I want to recreate the flavor from memory using other people's recipe as a start. I have to state right now that the mint sauce that I made wasn't the same and no where near what I wanted.

The mint sauce recipe that I used was obtained from Saveur magazine Mint sauce. This recipe makes more than 1 cup of sauce, which is excessive for me since I am making only 2 servings. Therefore I scaled everything down proportionately.


Ingredients
4-5 pieces of lamb chop

For the sauce:
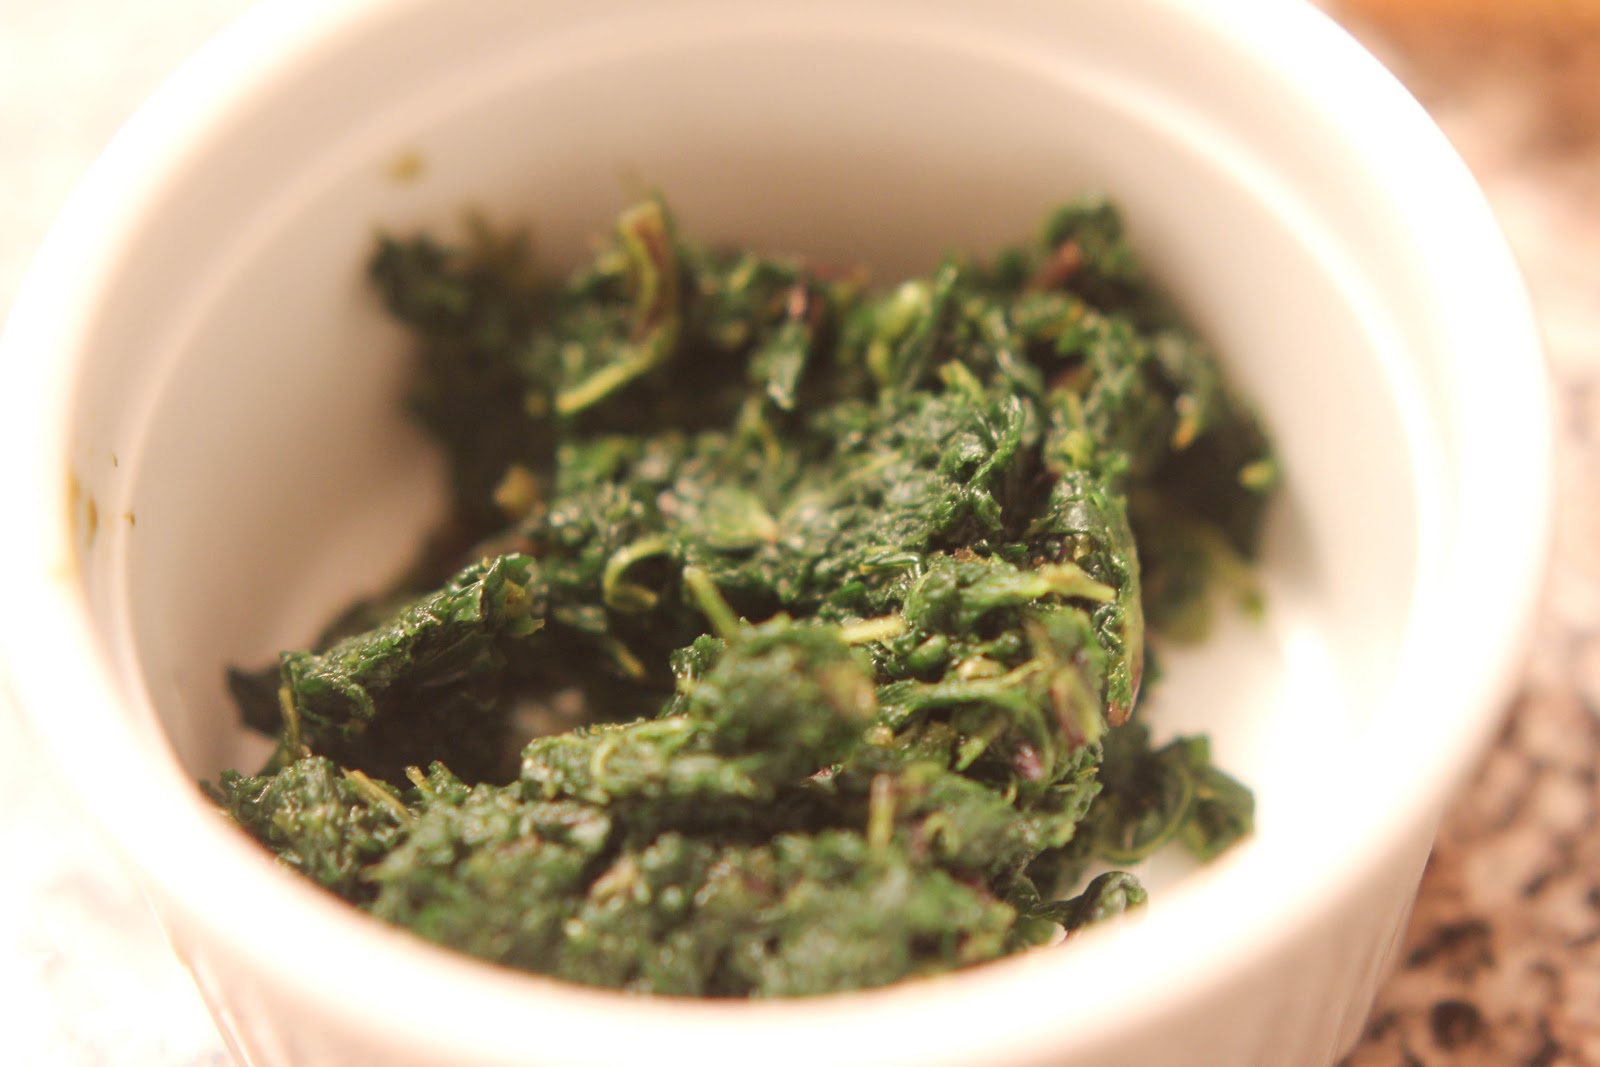
a bowl of mint leaves (stems removed). Smashed the leaves with a pestle or a food blender.
1/4 tbsp of sugar melted in 1/8 cup of warm water
a pince of salt
3 tsp of white wine vinegar


Instructions:
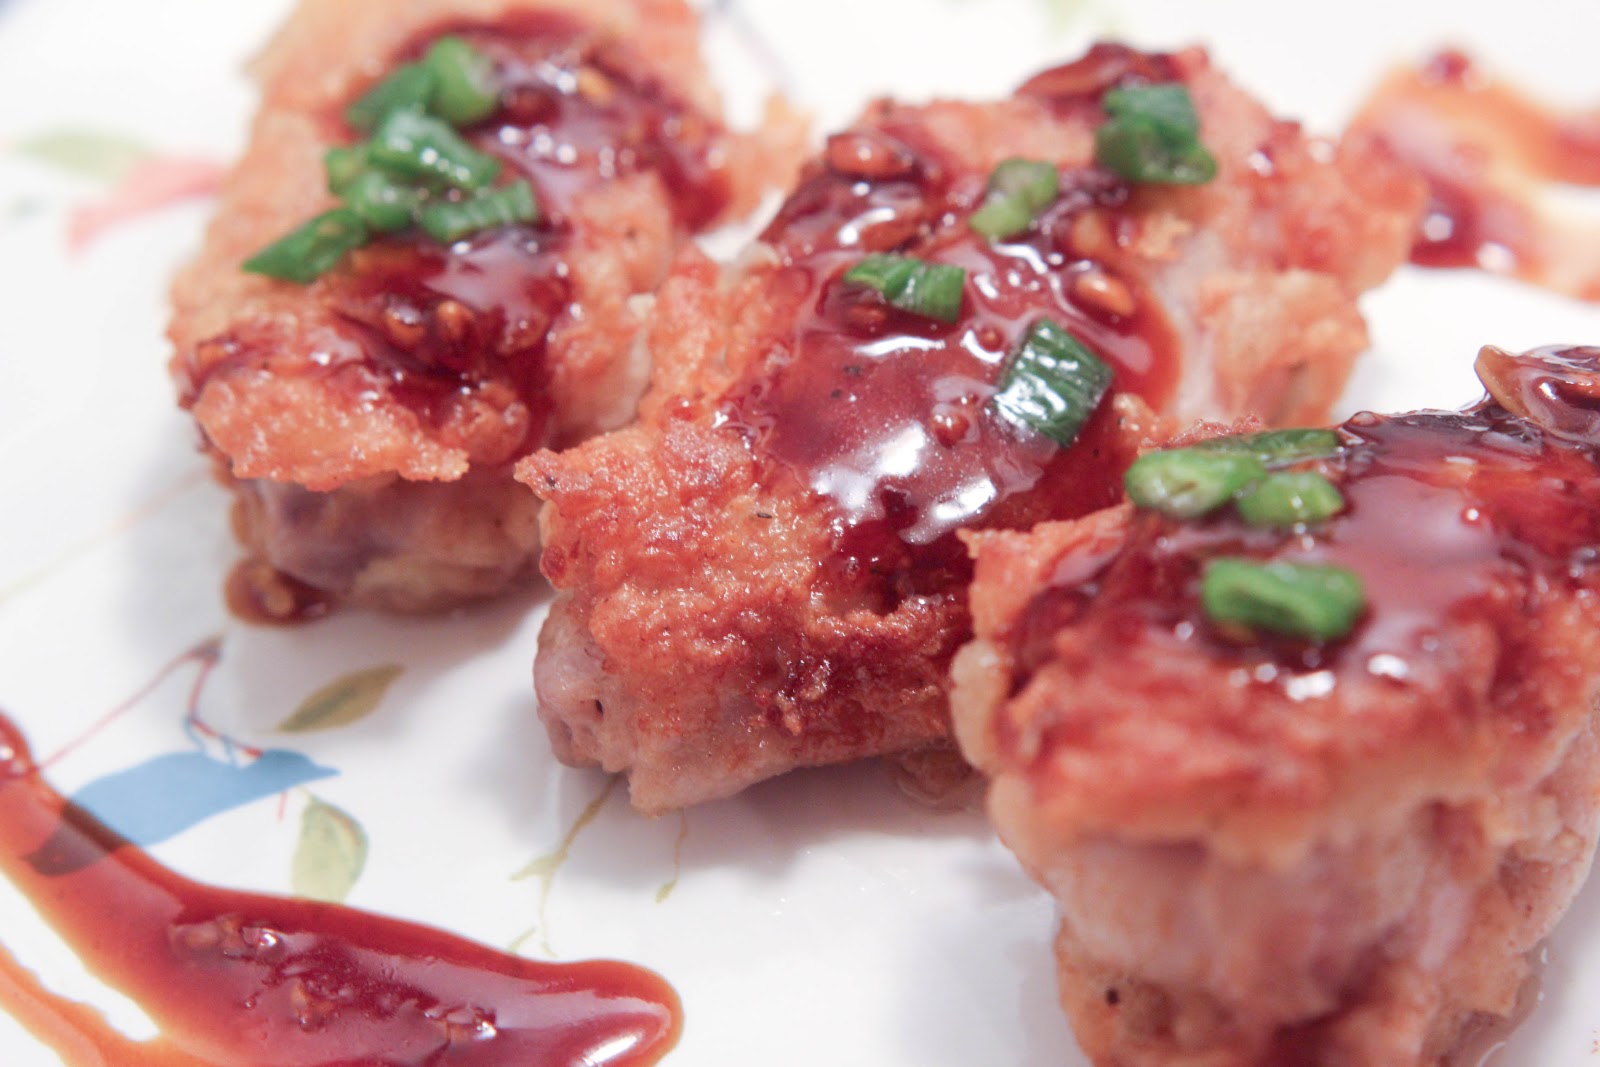
1. Heat some oil in a pan and seared the meat on high heat. Cook each side for an additional 3-4
lamb until the exterior of the lamb is nicely seared/browned.


2. Make the mint sauce by combining all the sauce ingredients in a small serving bowl.


                        This is a variation of the lamb topped with some pan seared tomatoes.


The lamb on its own would have been suffice. It wasn't game as I expected and the searing effect added a layer of complex flavor to the meat. The mint sauce is far off and I had a hard time balancing the taste. More sweetness? More acid? Although the mint taste was prominent, something was missing and I am not sure what it is. I have a feeling that some sort of bacon fat/lamb fat is needed. Another advice, do not smash the mint into a paste, I should roughly chopped the mint leaves in the future!


Sunday, November 25, 2012

Classic Chili


I was given the task to bring chili for the Thanksgiving dinner and I turned to my go-to recipe book nowadays, which was written by America's Test Kitchen.

After a quick look at the recipe and a searched of my pantry, I realized I have most of the things already. All I need are ground beef, canned kidney beans, and red bell pepper.

I followed the instructions as close as possible which I reproduced bellow. It is a pretty simple dish to make and it can be generally boil down to 4 steps. 1) cook the aromatics, 2) add the vegetable, 3) add the meat, 4) season with spices.

Ingredients: (10 medium servings)
2 onions
1 red bell pepper
4 tbsp chili powder (quantity adjustable)
1 tbsp cumin
1.2 tsp cayenne pepper
salt
6 garlic cloves, minced
2 lbs ground beef
2 cans red kidney beans, rinsed
1 can (28 ounce) diced tomatoes


Instructions: (I changed the order/timing of adding/cooking each component slightly)
1. Heat the oil in a large pot and add the onions until it turns translucent. Then add the garlic, and red bell pepper. Cook these for about 5 minutes.
2. Add the beef in small batches and cook until the beef is no longer pink.
3. Stir in the beans, diced tomatoes with all the juice.
4. Season with cumin, cayenne, salt, pepper and chili powder. I also added some dried crushed pepper.
5. Cook this for 45-60 minutes in medium heat. At this point, the chili will become gooey and not watery/stewy, which is the right consistency for chili.


 I was told that chili taste better after storage, and that's what I did. This chili is fantastic and my friends who had said it was the best they have had. I will not take any credit for this, it all belongs to America's Test Kitchen's carefully crafted recipe. It is a full-proofed recipe!!

Sunday, November 18, 2012

Korean "Fried" Chicken with Sweet and Spicy Chili Sauce


Back in the days, my friend told me about korean fried chicken that taste like nothing I have ever tasted before. He said it will changed the way I look at fried chicken. He is right.

The Koreans (term used loosely) invented, perfected, or innovated (don't quote me on food history) the art of frying chicken. No other people make fried chicken like the Koreans do.

I, for one, am not prepare to make fried chicken in my apartment that requires lots and lots of oil. I looked for the easiest way to make fried chicken and I landed on America's Test Kitchen's cookbook which has the following recipe "Easy fried chicken".

Ingredients
1.2 cup plus 2. tbsp buttermilk
(I don't have buttermilk so I mixed 3/4 cup plain yogurt with 1/4 cup of milk courtesy this recipe Buttermilk substitute)
1/2 tsp garlic powder
1/2 tsp paprika
10-12 chicken wings (approximately 1lb)
1 cup all-purpose flour
1 tsp baking powder
pinch of cayenne pepper
pinch of salt, black pepper
1.5 cups cooking oil
(this is significantly lower than the traditional way)


Instructions
1. Mix the buttermilk, salt, pepper, garlic powder and paprika in a large mixing bowl.
2. Add the chicken and coat the chicken evenly. Store in refrigerator for at least 1-24 hours (I did it for 2 hours)


3. Combine flour, baking powder, a pinch of paprika, a pinch of cayenne together.
4. Dredge chicken in flour mixture, coat the chicken evenly with the flour mixture. Set aside.


(while working in small batches)

5. Heat oil in a large pan and carefully place the chicken skin side down in the hot oil. Cook for 3-5 minutes.


6. Flip the chicken and cook for another 5 minutes.
7. Make sure the chicken is cooked through before transferring out of the pan.


(please read the note at the very bottom of this post for details that I omitted here)

Sweet and Spicy Chili Sauce (recipe Source)
My version, which I adapted slightly from my Honey Soy Scallops recipe.
1. pince of red chili flakes
2. 2 tbsp soy sauce
3. 1 tbsp rice wine vinegar or any vinegar
4. 3 medium cloves garlic, minced
5. 1 tsp grated fresh ginger
6. 1 tbsp sesame oil
7. 1 tbsp honey

Mix everything together, heat the mixture for a couple of minutes in a shallow pan using low heat. Drizzle over chicken.


The exterior of the chicken is crispy but I find that this crispiness is a result of the fried flour mixture. The skin of the wing isn't fried at all. When I removed this layer of fried exterior, I see a layer of skin. This is definitely not what I wanted and not how the Koreans do it. I am not even sure if America's Test Kitchen got this right. However, the sweet and spicy sauce works wonderfully on the chicken. If I were to do this again, I am going to remove the flour mixture COMPLETELY and simply "fry" the marinated chicken in hot oil. That way, the skin is guarantee to make contact with hot oil.


If you want to make Korean Fried Chicken as close as possible to the original, check out this elaborate and scientific experiment by the folks at Serious Eats. The Recipe and The Experiment.


Footnote:
According the America's Test Kitchen's Easy Fried Chicken recipe, they included one last step which is to transfer the cooked chicken into a 160 degree oven and bake the chicken for an extra 15-20 minutes. One caveat in that recipe is that they used chicken breast, which is thicker than wings, and this is the reason why I omitted the final baking step.


Saturday, October 27, 2012

Weeknight Roast Chicken


I used to be (perhaps still am) a purveyor of the cheapest ingredient I can find. Sometimes, though, the age-old wisdom of "you get what you paid" is true. In this case, the most important ingredient in making a roast chicken is, well, the chicken. Get the best quality you can, a good quality chicken makes or breaks this dish. I can't stress this enough. The reason is simple. The only flavor you get from roasting the chicken is, again, the chicken itself, and therefore you want to start with a quality bird.

In this experiment, I followed the instructions of America's Test Kitchen's Weeknight Roast Chicken. I followed this recipe almost to the T because ATK claimed to have perfected this recipe.


Ingredients:

Salt
Pepper
Oil
Whole chicken
Butcher's twine (or if you are like me who does not want to buy a roll of butcher's twine and rarely use it, then use a regular thread, you know, the kind you use to sew button on a shirt)

(that's all? You may ask. Yes!)

Instructions:
1. Turn on the oven to 450F.
2. Place an empty roasting pan or a large skillet in the oven. (will explain later)
3. Clean the chicken and pat it dry.
4. It is probably not a bad idea to let the chicken sit at room temperature for 10 minutes.
5. Use your hand or a brush to apply a thin layer of cooking oil over the entire chicken.
6. Season the chicken generously with kosher salt and crushed pepper.
7. Place the chicken breast-side up, tuck the wings under the chicken and tie up the legs.
8. Remove the hot roasting pan/large skillet from the oven. Place the chicken, breast-side up, on the pan.
(As explained by America's Test Kitchen crew, putting the bird on a very hot pan gives the under-side of the chicken a head-start in cooking so that the whole bird will cook evenly)
9. Roast the chicken for 30 minutes (or up to internal breast temperature registers 120F).
10. Turn the oven off and let the chicken continue sitting in the oven for 30 minutes (until the internal breast temperature reaches 160F).
(This is the "ah-ha" moment that ensures a moist roast chicken)
11. Take the chicken out from the oven, let is rest and cool down for about 20 minutes before carving.


Gravy
1. Transfer all the juice into a small bowl.
2. Remove majority of the fat.
3. Return the juice to a small sauce pan.
4. Add a pinch of salt, pepper, and a tiny splash of vinegar (adding vinegar is my own invention).
5. Bring the sauce to a gentle boil.
6. Slowly add cornstarch that has already been dissolved in water until the gravy reaches your desired consistency.


If heaven consist of two flavors, one sweet and one savory, the sweet flavor has to be Kaya, and the savory is this gravy.

Oh my word!! I have not tasted any roast chicken this moist and this flavorful on its own. Due to the quality of the chicken and the unique cooking method, this chicken is outstandingly tender. The little bit of salt and pepper is sufficient to brighten the flavor. The gravy? Superb beyond words. Pure flavor that you just can't compare to the "quick-mix" gravy. There is really no other way of making awesome gravy than to start with a roast chicken.

This dish is so easy, I am already thinking about making it again.


                                                Every limb and every breast is accounted for


Wednesday, October 17, 2012

Scallops with Honey Soy Sauce


Nature blessed us with "things" that are yummy to eat. Some of these "things" take a long time to produce such as fruits and animals; some a little faster such as basil leaves and bean sprouts. There are plenty of "things" that take a while to grow but taste very very good with very very little cooking or manipulation. One of these "things" is scallop.

I went to the grocery store the other day and bought 6 scallops. It cost me more than I expected for scallops. Since the scallops weren't on the display shelf when I bought it, I have no idea how small/large the scallops are until I got home. As you can see in the picture, these scallops are HUGE. Each of them is about the size of 3 regular/small scallops that you see at the run-of-the-mill grocery stores. I felt a little vindicated by paying so much for 6 fresh, never-frozen scallops.


The following recipe was adapted from Mark Bittman's article on New York Times who adapted the recipe from Jean-Georges Vongerichten. The original recipe by JGV is a complicated 22-ingredient dish called Fried Sushi Cakes with Scallops. Since I don't have a sous chef and 3 cooks in my kitchen, I have decided to remove everything from the recipe except the scallops and the honey soy sauce. The result is a 7-ingredients dish that took me 10 minutes to make.


Ingredients:
3 large scallops, or 6 medium scallops

Sauce:
1 tablespoon soy sauce
1 tablespoon honey (as you shall read at the bottom, I will use less next time)
splash of rice wine (not in JGV's recipe)
splash of balsamic vinegar or any vinegar (JGV's recipe called for sherry vinegar and rice-wine vinegar; which I have neither. Raise your hand if you have both! I salute you.)
splash of sesame oil (not in JGV's recipe)
cilantro (optional for garnishing)


Instructions:
1. Pat the scallops dry and let it sit at room temperature for a few minutes while you assemble the rest of the ingredients.
2. Heat a thin layer of oil in a frying pan (I like to use a stainless steel pan for better browning). When the oil is hot, carefully place the scallops on the pan.
3. For large scallops, cook each side for 4-5 minutes; for small scallops, 2-3 minutes each side is enough.


(The best way to judge the doneness is the empirical way. The scallops can be easily lifted up from the pan when it is ready to be flipped. If it still sticks to the pan, leave it a little longer. I like to cook it slightly longer to get a thin brown crust)

4. While the scallops are cooking, prepare and mix the sauce in a bowl.
5. Once the scallops are finished cooking, remove it from the pan and add the sauce to the still-hot pan to deglaze.


6. Drizzle the sauce on the scallops.


One of the scallops did not make it to the dinning table. It was consumed in the space between the stove and the dinning table. If you have seen my apartment, you know that it takes 3 steps to walk from the stove to my dinning table.

I cut the scallops into tiny pieces to make it look artificial plentiful, which in all honestly, it is so yummy, I can eat 10 of these. Why, scallops, why are you so expensive????

The honey soy sauce is rich, and flavorful as expected but the 1:1 honey:soy sauce ratio that was taken from JGV's recipe is a little to much for me. I think it will be just fine if the dish includes the fried rice cake. But since mine does not, the sweetness of the honey is a little over-powering. Next time (yes, there will be a next time) I will use half the amount of honey.


Tuesday, October 9, 2012

Banana bread


In true spirit of scientific exploration, I repeated this "experiment" twice. Slightly different sets of recipes but very different outcomes.

I am sure many home-cooks face this conundrum at some point in their "cooking exploration" and this is - "I followed the recipe and the instructions to the T but what I made, at best, did not match what I was looking for, or, at worst, was a complete disaster."

What went wrong?

Things that I learned from my experiment of making a banana bread, which applies to most cooking by the way -- first, the sequence of adding each ingredient is crucial, and second, not all recipes are created equal. Just because the recipe from this book or that website says so, it does not mean it is correct. I am not saying that these instructions are wrong but what I am saying is that very often it takes a few explorations to find the right recipe.

I wanted a FLUFFY banana bread but the first recipe that I tried did not give a FLUFFY banana bread. It came out more like a fresh bagel. Where did the FLUFFINESS go?

If you have been following this blog, you will know by now that I am a big fan of David Lebovitz. He was a pastry chef for many years and I have used his recipe or the recipes he uses and was able to replicate success routinely.

I used his Banana Bread recipe and gave some minor tweaks.


                                              surface of Mars
Ingredients:
A) Wet ingredients
2 tbsp melted butter (which is cooled to room temperature prior to using. You want to do this first before you start assembling the rest)

2 large eggs
3 very ripe bananas, mashed
1/2 cup of greek yogurt (Lebovitz asked for sour cream. I don't eat sour cream and I don't like to buy sour cream just to use half of it and have the other half sitting in the refrigerator)
1/2 tsp vanilla extract

B) Dry ingredients

1.5 cups of flour
1 tsp of baking powder
1/2 tsp of baking soda  (the baking powder and the baking soda are essential for FLUFFY bread)
1/2 tsp salt
1 tsp ground cinnamon
3/4 cup sugar


                                              a canyon found on Mars

Instructions:
1. Preheat the oven to 350F.
2. Butter the 4-sides of a square baking pan and line the bottom with a "cut out" parchment paper.
3. Sift together the dry ingredients (minus the sugar) a few times. Mix in the sugar after the last sift.
4. In a large bowl, mix the wet ingredients
5. Make a well in the center of the flour mixture and stir in the wet ingredients.
(note: The mixture is chunky in the beginning but it will smooth out slowly. David Lebovitz stresses the importance of "stir until just combined, but don't overstir: stop when any traces of flour disappear.)
6. Transfer the mixture into the pan and bake the cake.
(note: Don't wait for 40 minutes, as Davd Lebovitz suggested. Check the cake around 20 minutes and use the empirical test that David Lebovitz suggests which is "until the center feels lightly-springy and just done. For me, it took just under 30 minutes).
7. Let it cool then serve. 


This banana bread was definitely FLUFFY. Like most pastries or bread, this is best consumed when it is hot. The fragrance of baked, warm banana filled every inch of my apartment and it smelled like I just walked into an orchard with just-ripe fruit ready to be harvested at the most delicate moment.

There are so many variations of this cake such as adding nuts, chocolate chips, berries, citrus, etc.  I am already thinking about my next banana bread.


Saturday, September 22, 2012

Lemon Posset


I can't think of any dessert that is simpler than this. No baking, no beating, no blending, and no kneading.

I came across this dessert at www.food52.com/recipes/3060_lemon_posset  and the first thing that caught my eyes was the simplicity of the recipe.


Ingredients: (6 medium servings)

2 cups of heavy cream (sounds like a lot per serving, right?! you just need to get over the thought)
2/3 cups of sugar
5 tablespoons of lemon juice (about 2-3 large lemons).

Instructions:
1. Boil the cream and sugar for 5 minutes. (Quizz of the day: why some recipes call for boiling the cream, while some strictly request simmering the cream?)

2. Adjust the sweetness and the sourness with sugar or more lemon juice according to your own preference.

3. Let the mixture cool for 10 minutes.

4. Pour the mixture and divide evenly into ramekins/glasses/cups.

5. Refrigerate for a couple of hours.


Something magical happens in the end. This is where chemistry takes place. This is where food molecules, in its essence, transform. Breaking down of the fat with rigorous boiling plus acid from the lemon juice, follow by chilling the mixture, turn liquid into semi-solid.

There are many ways to eat lemon posset. Some people might choose to eat it "plain", but think about lemon posset as a blank canvas or white paint. You can combine it with many things and it should taste good. The first thing that came to my mind was graham crackers and the reason was simple -- I happened to have unopened graham crackers.

Further magic happens in my mouth.


The tanginess of the lemon posset was beautifully balanced by the sweetness of the graham crackers and the silky smooth texture of the lemon posset was countered by the coarse crumbly graham crackers.

A spoonful of lemon posset and graham crackers in my mouth sent me briefly to a very happy place.

3 ingredients, 1 step.  How much more easier can it be?


Thursday, September 13, 2012

Indian Style Cream Spinach (Palak Paneer)


This is a very popular indian dish that I discovered last year. As much as I love this dish when I first had it, I have only had it twice at the same place. Since I rarely cook Indian food, I thought it would be interesting to take on the challenge of recreating the flavor.

I will be lying if I told you I made Palak Paneer, because I didn't use any Paneer (cheese) in my dish. I didn't bother looking for it and I thought the flavor of this dish will not be diminished by the omission of cheese. Correct me if I am wrong.

There are many Palak Paneer recipes on the internet, they range from very complex to mildly complex. I picked a recipe which is pretty easy to follow.

http://www.indiansimmer.com/2010/07/palak-paneer-for-my-birthday.html


                                                          Fennel Seeds and cloves

Here I copied the recipe from the website:

1 pound fresh green spinach
8 oz packet of paneer cut into cubes (I did not use this)
1 cup red chopped onion (1 onion)
1 cup tomato pureed (3 large tomatoes)
3-4 cloves garlic
1 1/2 inch ginger
2-3 thai green chili (I did not use this)
1 tsp fennel seeds
3-4 cloves 
1/4 cup heavy cream 
2 tbsp coriander powder 
1 1/2 tsp curry powder
3 tbsp olive oil/cooking oil (I used regular peanut oil)
Salt 


                                                     Coriander and curry powder


Instructions:
1. Blanch the spinach for 30 seconds, remove from the pot and drain off excess water.
2. Instead of using a blender, I chopped the blanched spinach. 
3. Cook the onion, ginger and garlic for 1 minute.


4. Add the coriander, curry powder, fennel seeds, and cloves.
5. Mix all together and cook for a minute.
6. Add the pureed tomato and cook for 2 minutes.
7. Add the chopped spinach.


8. At this point, the tomato will release all its juice. Turn the heat to medium and slowly cook the juice down to a thick paste. 

9. Add the cream into the mixture. The amount is entirely up to you. 
10. Serve


There is no good way to photograph palak paneer since it is a meshed up spinach in cream  color. Not pretty, so I added sliced tomatoes to add color to the composition. 

In terms of recreating the flavor, I think I was 70% close to what was looking for. The flavors of the curry powder, coriander powder, fennel and clove is bold and intense. This intensity is balanced by the spinach and the tomatoes. Since I added the cream little by little, I was able to control how heavy I want the dish to be. Overall, I am very happy with what I made and it is definitely something to keep in my arsenal of recipes.