I am a scientist who loves to cook because there are many similarities between working in a lab and cooking in a kitchen. I love to share my cooking experience with you and to inspire others to cook.

Sunday, March 24, 2013

Something savory, something sour and something sweet

Just want to share with all of you what I ate/made recently. Life is full of adventures and you need to know how to enjoy it even when the adventures are less pleasant. Not really sure how my previous statement ties in with food but I guess eating is an adventure too. You just need to find the balance between the savory, the sour and the sweet. All I can say is that sour makes the sweet, sweeter. 


This is a simple "french-style" cauliflower soup. I cooked a pot of chicken stock before adding the cauliflower.  I pureed the cauliflower but I didn't add the cream since the soup is thick enough. I could have added some butter to elevate the flavor.


There are a few mulberry plants outside of my house and I have been collecting the fruits to make jam. Took me more than a month to collect just a cup. This is literally the fruits of my labor. I followed the same steps to make strawberry jam


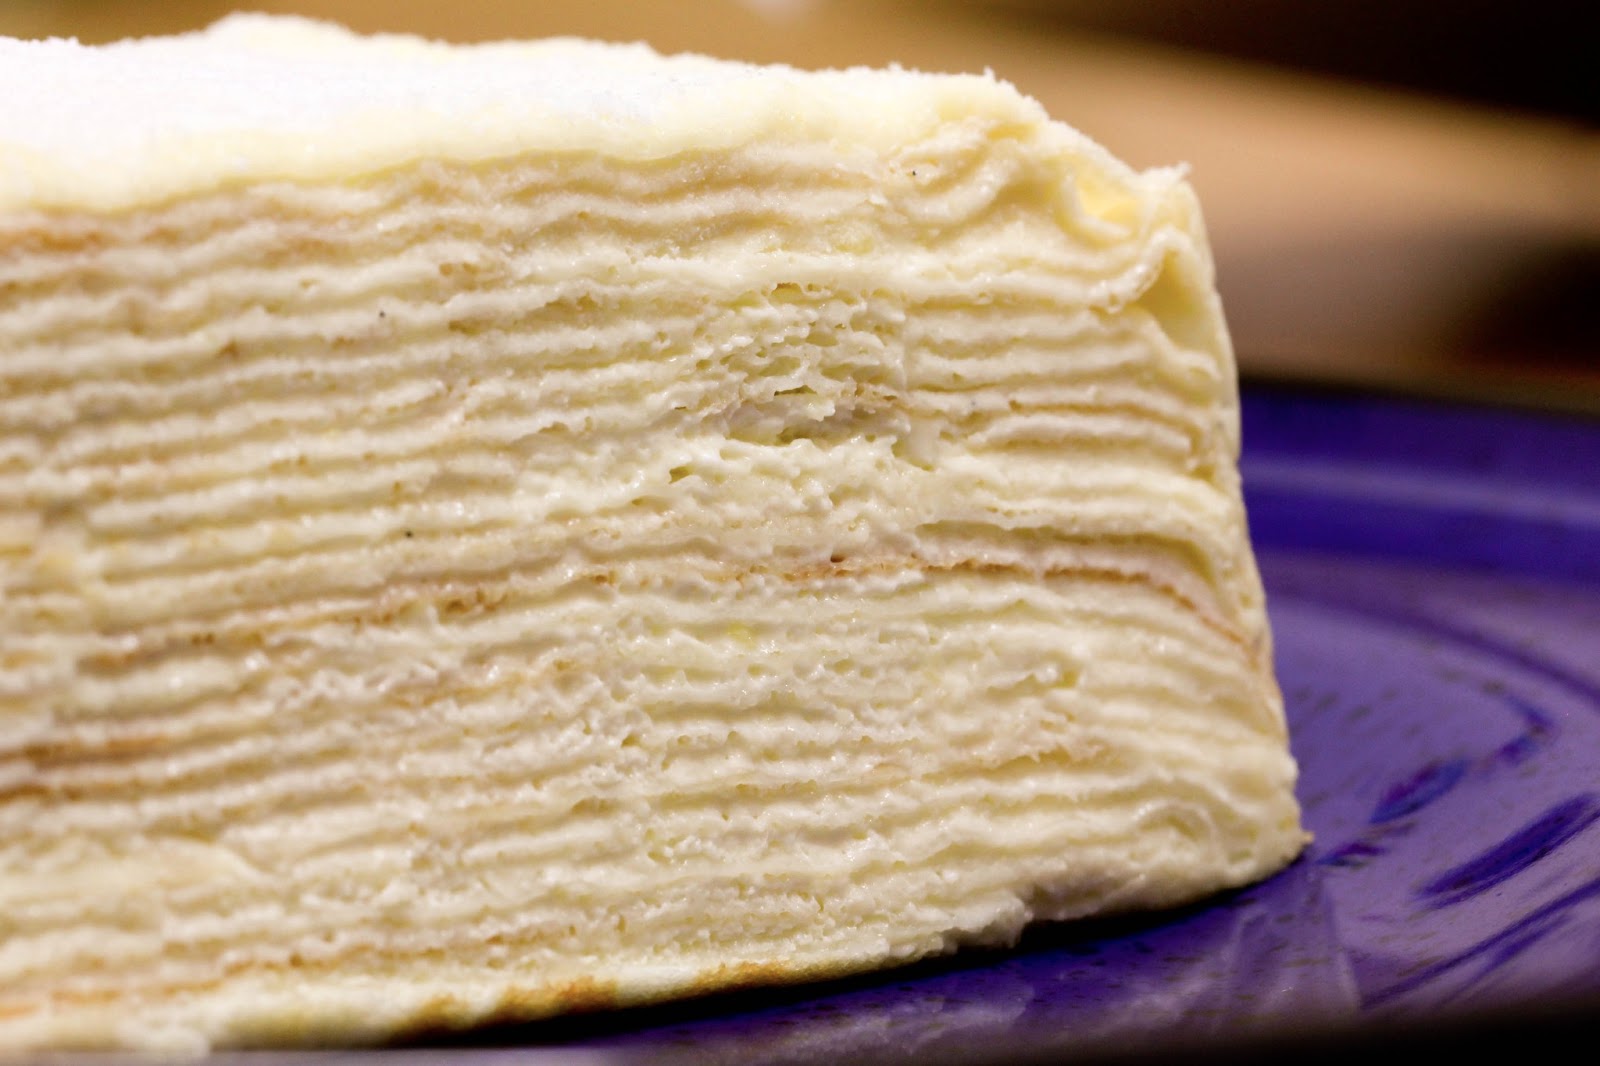
If you ask me to choose ONE dessert to eat for the rest of my life, I will most likely choose a mille crepe. Layers upon layers of crepe and cream, soft and velvety. Check out my old post on making crepe.


Friday, March 8, 2013

Yam (Taro) Cake


This is a savory dish that is very unique and ethnic/regional-specific. I have sampled many yam cakes and they are usually very mushy and often lack the taro flavor. Therefore I decided to make my own taro cake with the help of a recipe found at Rasa Malaysia.

I followed the recipe and instructions at Rasa Malaysia almost to the T with slight modifications. The amount of yam, flour and water do not need to be exact as long as you maintain the ratio of yam:flour:water at 1:1:2  (Rasa Malaysia suggested 1.5:1:2)


Ingredients: (yields about 8 medium size cakes)

For the cake:
1 bowl of yam, cut into small cubes (half a yam yielded 1 bowl of yam)
1 bowl of rice flour (there is no substitution for this)
2 tablespoon of corn starch
2 bowls of water
dried shrimp (as much as you want. You got to enjoy the flavor of dried shrimp in order to enjoy this dish in its authentic form. However, there are ways to get around this if you are creative)
5 shallots
1 teaspoon of five spice powder
1/2 teaspoon salt
1/2 teaspoon white pepper


For the toppings: (this is the part where you can choose whatever you want)
shallots
spring onions
red chillies
dried shrimps

Instructions:

1. Fry all the chopped shallots until it turns brown then add all the dried shrimps. Cook this for about 5 minutes. Set half aside (to be used as toppings) and leave the remaining half in the pan.

2. Add the yam and mix in thoroughly with the friend shrimp and shallots. Until the yam turns slightly brown. Add the five-spice powder.


3. (this is something you should do before you start cooking: Mix the rice flour, corn starch and water and set aside until you are ready to cook).

4. Add the flour and water mixture slowly into the pan. (As the rice flour hits the heat, it will begin to coagulate. Therefore make sure to stir the mixture constantly and scrap everything off the bottom of the pan as you stir to prevent the rice flour from burning)

5. Season the mixture with salt and pepper.

6. Pour the mixture into a large bowl/heat-proof container. According to Rasa Malaysia, steam the taro cake for 45 minutes or until the yam is cooked. The timing is quite accurate.

7. Serve the yam cake and sprinkle with your choice of toppings such as the fried dried shrimps and shallots.


Verdict?

This yam cake tasted great. The flavor of the yam shines like a pure crystal without being adultered by the heaviness of the starch (which is very often the case for store bought yam cake). I also like the chunky texture of the yam cake which is also rarely found in store bought cake. The yam cake itself is slightly under seasoned (not intentionally) but it is compensated by the red and green chillies, dried shrimps and shallots. Serve it with sweet soy sauce, srirachai or BBQ sauce (okay, use BBQ at your own risk, but why not, if you are a super-lover of the BBQ sauce).

Saturday, March 2, 2013

Glutinous Rice Ball (Mandarin: Tang Yuan)


The 15th day of the Chinese Lunar calendar marks the end of the Chinese New Year celebration. On this day, family gather to make glutinous rice ball as a symbol of family unity (my own interpretation).

Instead of my usual format of giving you the recipe and instructions, I will skip all of that and jump straight into using pictures to tell you the stories. This dessert is so simple, the recipe can be easily searched and they are all the same.


This flower is called the Blue Pea Flower (scientific name: clitoria ternatea; yea, you may look at the flower again to make sure the name is right). It is a kind of flower that is used regionally as natural food coloring.


I love the deep blue color liquid extracted from the flower.


Pandan leave (screwpine leave) is another plant that is commonly used for food coloring as well as for flavoring.


"Naked", blue, or green glutinous balls.


Pearly white glutinous balls after they are cooked and ready to be served.


I like the way the light reflects on the glutinous balls.


Glutinous rice balls are usually served with a sugary syrup flavored with pandan leaves and, depending on your preference, ginger.

Friday, December 28, 2012

Pan seared lamb loin chop with mint sauce


I have never cooked lamb in my entire life but I do enjoy the occasional grilled rack of lamb or roasted lamb shank. Growing up, I remember accompanying dad to various large dinner events and the really posh parties would have on-site whole roast lamb. The meat were usually sliced infront of me and served with some mint sauce. This mint sauce is what I remember the most, something that has etched into my memory.


I stopped by the grocery store one fine morning and splurged on a few pieces of top quality "rack" of lamb (it is no longer in a rack, what should I call it once it has been broken down into individual pieces? update: Thanks Aleena for pointing it out it is simply called "Lamb Chop")


Cooking the lamb should be straightforward but making the mint sauce can be a little tricky. I want to recreate the flavor from memory using other people's recipe as a start. I have to state right now that the mint sauce that I made wasn't the same and no where near what I wanted.

The mint sauce recipe that I used was obtained from Saveur magazine Mint sauce. This recipe makes more than 1 cup of sauce, which is excessive for me since I am making only 2 servings. Therefore I scaled everything down proportionately.


Ingredients
4-5 pieces of lamb chop

For the sauce:
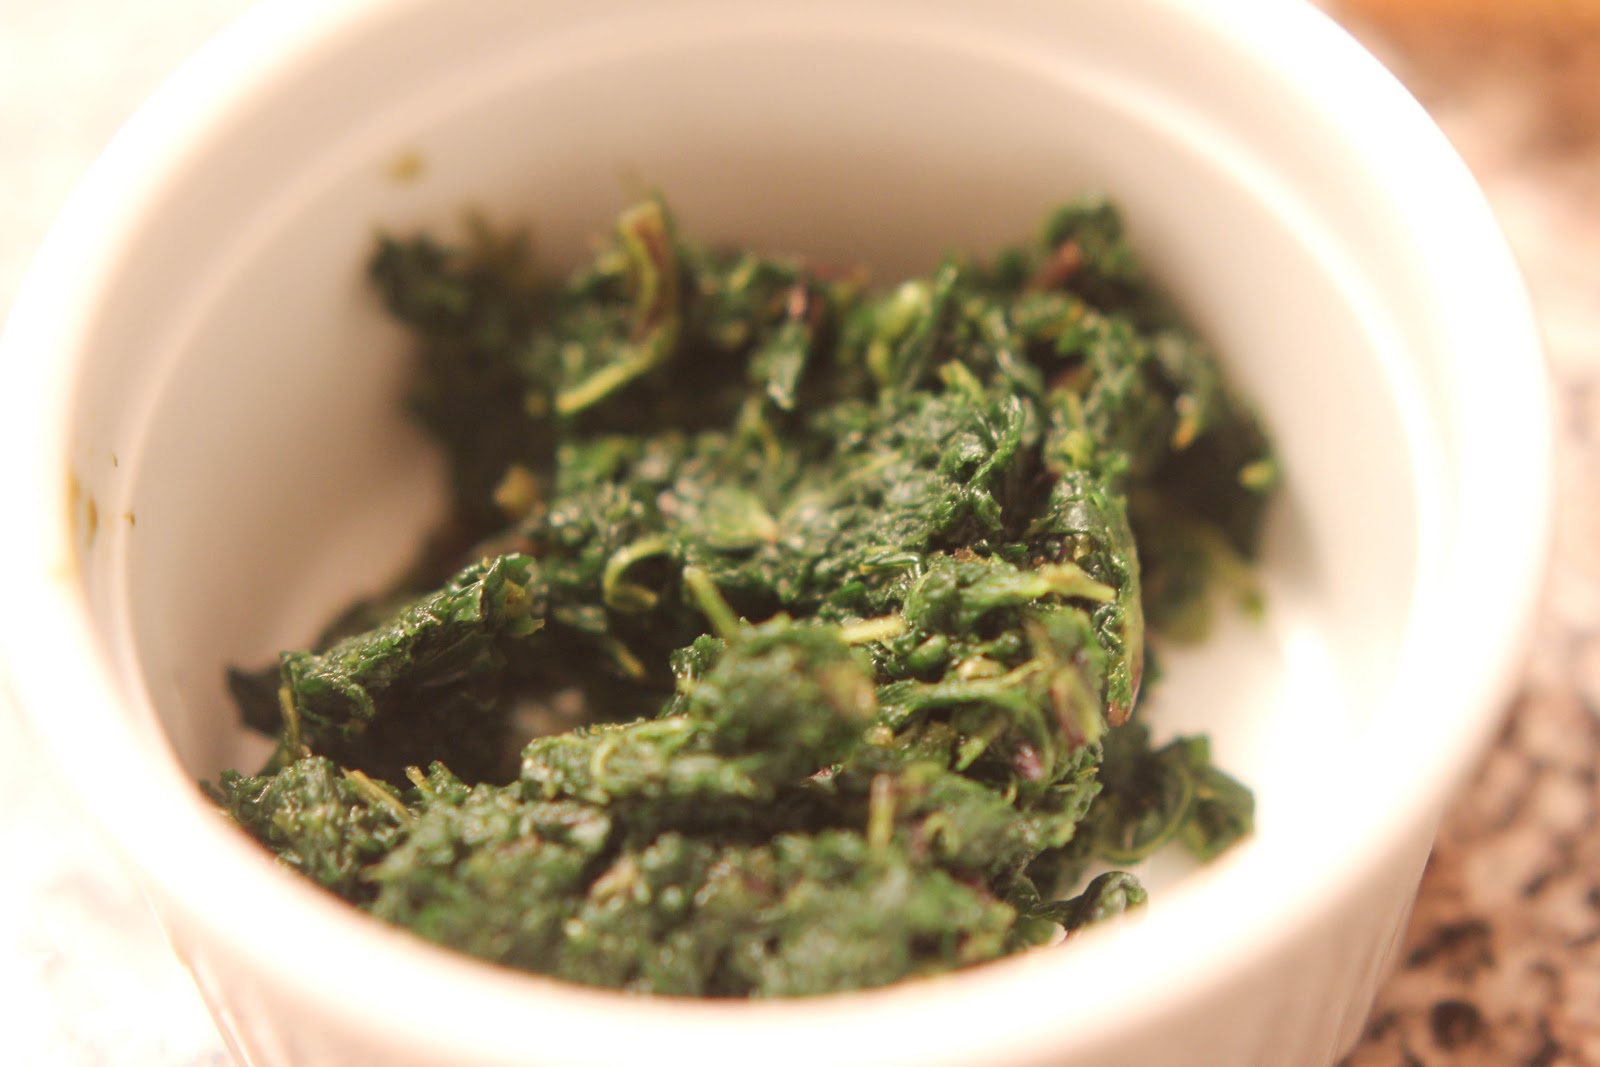
a bowl of mint leaves (stems removed). Smashed the leaves with a pestle or a food blender.
1/4 tbsp of sugar melted in 1/8 cup of warm water
a pince of salt
3 tsp of white wine vinegar


Instructions:
1. Heat some oil in a pan and seared the meat on high heat. Cook each side for an additional 3-4
lamb until the exterior of the lamb is nicely seared/browned.


2. Make the mint sauce by combining all the sauce ingredients in a small serving bowl.


                        This is a variation of the lamb topped with some pan seared tomatoes.


The lamb on its own would have been suffice. It wasn't game as I expected and the searing effect added a layer of complex flavor to the meat. The mint sauce is far off and I had a hard time balancing the taste. More sweetness? More acid? Although the mint taste was prominent, something was missing and I am not sure what it is. I have a feeling that some sort of bacon fat/lamb fat is needed. Another advice, do not smash the mint into a paste, I should roughly chopped the mint leaves in the future!


Sunday, November 25, 2012

Classic Chili


I was given the task to bring chili for the Thanksgiving dinner and I turned to my go-to recipe book nowadays, which was written by America's Test Kitchen.

After a quick look at the recipe and a searched of my pantry, I realized I have most of the things already. All I need are ground beef, canned kidney beans, and red bell pepper.

I followed the instructions as close as possible which I reproduced bellow. It is a pretty simple dish to make and it can be generally boil down to 4 steps. 1) cook the aromatics, 2) add the vegetable, 3) add the meat, 4) season with spices.

Ingredients: (10 medium servings)
2 onions
1 red bell pepper
4 tbsp chili powder (quantity adjustable)
1 tbsp cumin
1.2 tsp cayenne pepper
salt
6 garlic cloves, minced
2 lbs ground beef
2 cans red kidney beans, rinsed
1 can (28 ounce) diced tomatoes


Instructions: (I changed the order/timing of adding/cooking each component slightly)
1. Heat the oil in a large pot and add the onions until it turns translucent. Then add the garlic, and red bell pepper. Cook these for about 5 minutes.
2. Add the beef in small batches and cook until the beef is no longer pink.
3. Stir in the beans, diced tomatoes with all the juice.
4. Season with cumin, cayenne, salt, pepper and chili powder. I also added some dried crushed pepper.
5. Cook this for 45-60 minutes in medium heat. At this point, the chili will become gooey and not watery/stewy, which is the right consistency for chili.


 I was told that chili taste better after storage, and that's what I did. This chili is fantastic and my friends who had said it was the best they have had. I will not take any credit for this, it all belongs to America's Test Kitchen's carefully crafted recipe. It is a full-proofed recipe!!

Sunday, November 18, 2012

Korean "Fried" Chicken with Sweet and Spicy Chili Sauce


Back in the days, my friend told me about korean fried chicken that taste like nothing I have ever tasted before. He said it will changed the way I look at fried chicken. He is right.

The Koreans (term used loosely) invented, perfected, or innovated (don't quote me on food history) the art of frying chicken. No other people make fried chicken like the Koreans do.

I, for one, am not prepare to make fried chicken in my apartment that requires lots and lots of oil. I looked for the easiest way to make fried chicken and I landed on America's Test Kitchen's cookbook which has the following recipe "Easy fried chicken".

Ingredients
1.2 cup plus 2. tbsp buttermilk
(I don't have buttermilk so I mixed 3/4 cup plain yogurt with 1/4 cup of milk courtesy this recipe Buttermilk substitute)
1/2 tsp garlic powder
1/2 tsp paprika
10-12 chicken wings (approximately 1lb)
1 cup all-purpose flour
1 tsp baking powder
pinch of cayenne pepper
pinch of salt, black pepper
1.5 cups cooking oil
(this is significantly lower than the traditional way)


Instructions
1. Mix the buttermilk, salt, pepper, garlic powder and paprika in a large mixing bowl.
2. Add the chicken and coat the chicken evenly. Store in refrigerator for at least 1-24 hours (I did it for 2 hours)


3. Combine flour, baking powder, a pinch of paprika, a pinch of cayenne together.
4. Dredge chicken in flour mixture, coat the chicken evenly with the flour mixture. Set aside.


(while working in small batches)

5. Heat oil in a large pan and carefully place the chicken skin side down in the hot oil. Cook for 3-5 minutes.


6. Flip the chicken and cook for another 5 minutes.
7. Make sure the chicken is cooked through before transferring out of the pan.


(please read the note at the very bottom of this post for details that I omitted here)

Sweet and Spicy Chili Sauce (recipe Source)
My version, which I adapted slightly from my Honey Soy Scallops recipe.
1. pince of red chili flakes
2. 2 tbsp soy sauce
3. 1 tbsp rice wine vinegar or any vinegar
4. 3 medium cloves garlic, minced
5. 1 tsp grated fresh ginger
6. 1 tbsp sesame oil
7. 1 tbsp honey

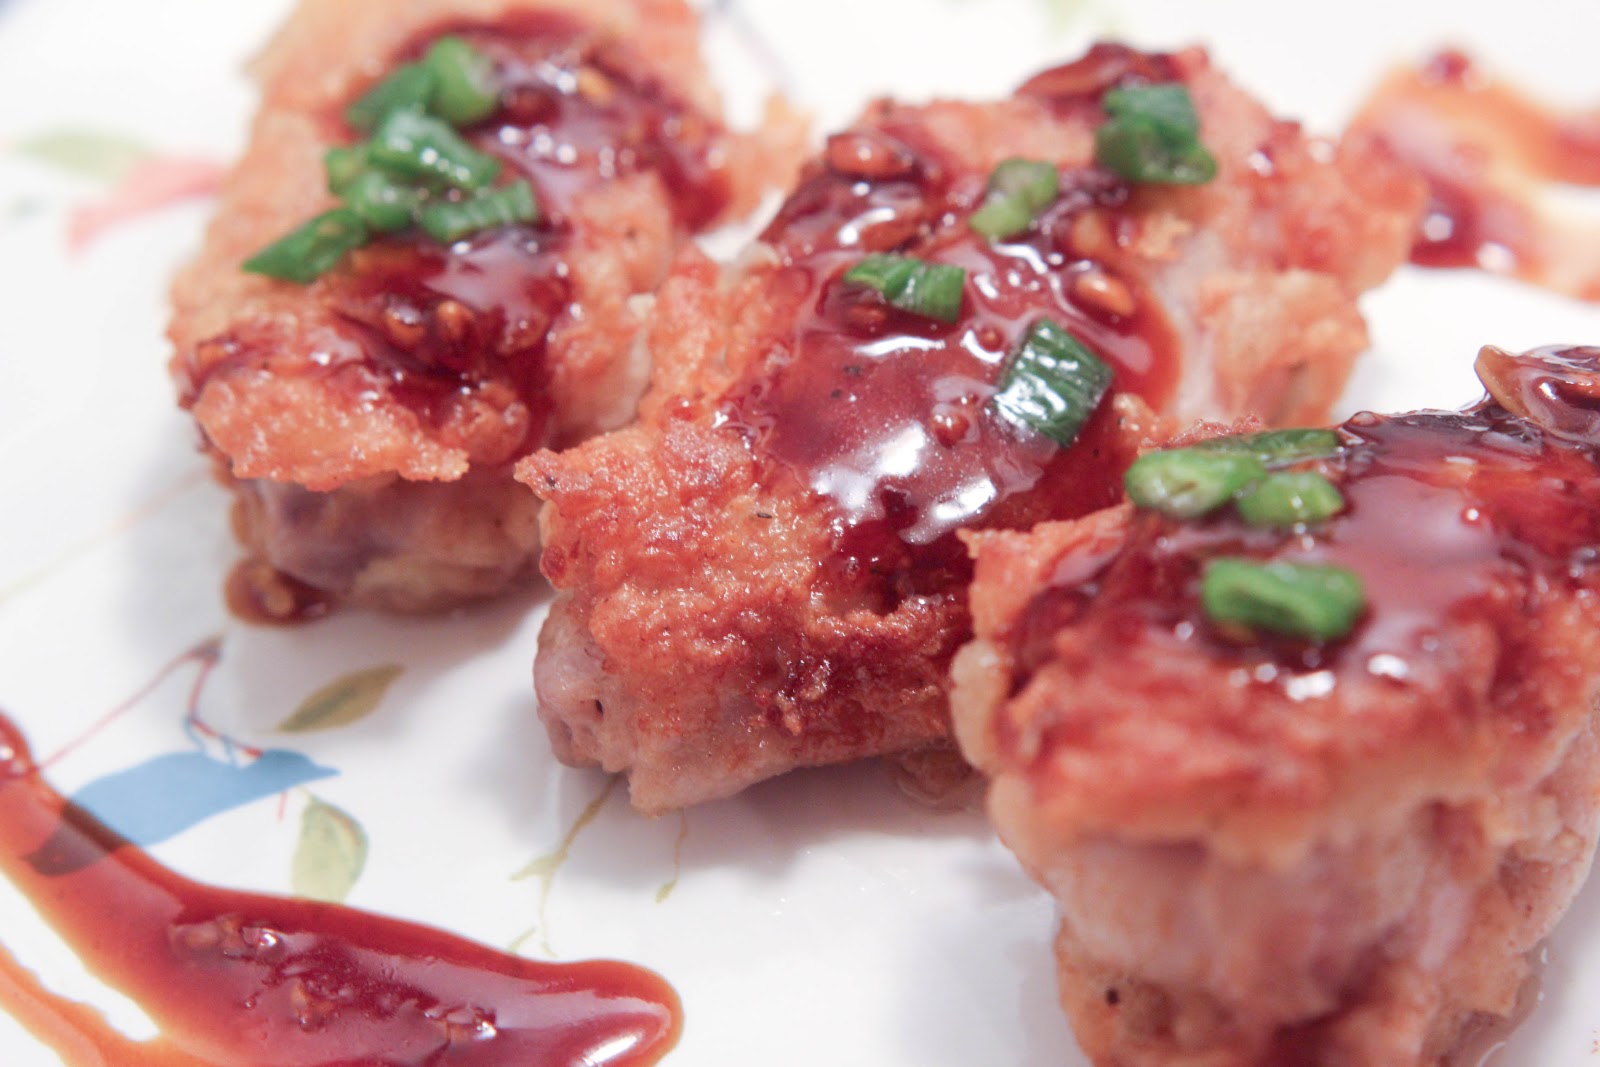
Mix everything together, heat the mixture for a couple of minutes in a shallow pan using low heat. Drizzle over chicken.


The exterior of the chicken is crispy but I find that this crispiness is a result of the fried flour mixture. The skin of the wing isn't fried at all. When I removed this layer of fried exterior, I see a layer of skin. This is definitely not what I wanted and not how the Koreans do it. I am not even sure if America's Test Kitchen got this right. However, the sweet and spicy sauce works wonderfully on the chicken. If I were to do this again, I am going to remove the flour mixture COMPLETELY and simply "fry" the marinated chicken in hot oil. That way, the skin is guarantee to make contact with hot oil.


If you want to make Korean Fried Chicken as close as possible to the original, check out this elaborate and scientific experiment by the folks at Serious Eats. The Recipe and The Experiment.


Footnote:
According the America's Test Kitchen's Easy Fried Chicken recipe, they included one last step which is to transfer the cooked chicken into a 160 degree oven and bake the chicken for an extra 15-20 minutes. One caveat in that recipe is that they used chicken breast, which is thicker than wings, and this is the reason why I omitted the final baking step.


Saturday, October 27, 2012

Weeknight Roast Chicken


I used to be (perhaps still am) a purveyor of the cheapest ingredient I can find. Sometimes, though, the age-old wisdom of "you get what you paid" is true. In this case, the most important ingredient in making a roast chicken is, well, the chicken. Get the best quality you can, a good quality chicken makes or breaks this dish. I can't stress this enough. The reason is simple. The only flavor you get from roasting the chicken is, again, the chicken itself, and therefore you want to start with a quality bird.

In this experiment, I followed the instructions of America's Test Kitchen's Weeknight Roast Chicken. I followed this recipe almost to the T because ATK claimed to have perfected this recipe.


Ingredients:

Salt
Pepper
Oil
Whole chicken
Butcher's twine (or if you are like me who does not want to buy a roll of butcher's twine and rarely use it, then use a regular thread, you know, the kind you use to sew button on a shirt)

(that's all? You may ask. Yes!)

Instructions:
1. Turn on the oven to 450F.
2. Place an empty roasting pan or a large skillet in the oven. (will explain later)
3. Clean the chicken and pat it dry.
4. It is probably not a bad idea to let the chicken sit at room temperature for 10 minutes.
5. Use your hand or a brush to apply a thin layer of cooking oil over the entire chicken.
6. Season the chicken generously with kosher salt and crushed pepper.
7. Place the chicken breast-side up, tuck the wings under the chicken and tie up the legs.
8. Remove the hot roasting pan/large skillet from the oven. Place the chicken, breast-side up, on the pan.
(As explained by America's Test Kitchen crew, putting the bird on a very hot pan gives the under-side of the chicken a head-start in cooking so that the whole bird will cook evenly)
9. Roast the chicken for 30 minutes (or up to internal breast temperature registers 120F).
10. Turn the oven off and let the chicken continue sitting in the oven for 30 minutes (until the internal breast temperature reaches 160F).
(This is the "ah-ha" moment that ensures a moist roast chicken)
11. Take the chicken out from the oven, let is rest and cool down for about 20 minutes before carving.


Gravy
1. Transfer all the juice into a small bowl.
2. Remove majority of the fat.
3. Return the juice to a small sauce pan.
4. Add a pinch of salt, pepper, and a tiny splash of vinegar (adding vinegar is my own invention).
5. Bring the sauce to a gentle boil.
6. Slowly add cornstarch that has already been dissolved in water until the gravy reaches your desired consistency.


If heaven consist of two flavors, one sweet and one savory, the sweet flavor has to be Kaya, and the savory is this gravy.

Oh my word!! I have not tasted any roast chicken this moist and this flavorful on its own. Due to the quality of the chicken and the unique cooking method, this chicken is outstandingly tender. The little bit of salt and pepper is sufficient to brighten the flavor. The gravy? Superb beyond words. Pure flavor that you just can't compare to the "quick-mix" gravy. There is really no other way of making awesome gravy than to start with a roast chicken.

This dish is so easy, I am already thinking about making it again.


                                                Every limb and every breast is accounted for