I am a scientist who loves to cook because there are many similarities between working in a lab and cooking in a kitchen. I love to share my cooking experience with you and to inspire others to cook.

Friday, November 25, 2011

Strawberry Banana Milkshake


When I was on a weight gain diet, one of the most recommended methods is to drink lots and lots of milkshake. It is full of proteins, nutrients, carbohydrates and unfortunately sugar too. Of course milkshake is an enjoyable drink and the best milkshakes are the ones that are homemade with fresh fruits.
Image source: www.Jayceooi.com

I made strawberry banana milkshake the other day and I have four main ingredients
a) ice cream - any ice cream you like, I don't add much, perhaps one or two scoops for a large cup of milkshake.

b) milk - what is milkshake without milk? :)  Here, I like to add more milk since milk is very healthy.

c) fruits - strawberries and bananas. There really is no limit on how much to add but it is always a good idea to strike a balance between the solids and the liquids.

image source: www.blendersbest.com


What's left is blending. I use a Braun handheld blender. Although it is not the strongest blender, it is a versatile blender that I often use to make spice paste/marinade sauce for cooking.


I like the freshness of this milkshake. Since I don't add too much ice cream, the milkshake is lighter and the aroma of strawberries is what hit your nose first followed by a subtle taste of banana on your palate. Ah, heavenly.

The number of fruits you can try is limitless. papaya, honeydew, mango, all kinds of berries, all kinds of stone fruits (peach, nectarine). Have you tried avocado milkshake? You should!!

Natural lighting makes all the differences in taking a good picture


Tips:
1) If you use frozen fruits, I recommend letting the fruit thaw just slightly before blending, if you are using a handheld blender.

2) When you freeze banana, make sure you remove the skin and cut the banana into small pieces before freezing. (Thanks Lynn for this important lesson)


Monday, November 14, 2011

Honey Soy Glazed Chicken

My good friend Elsie started her food blog right after I started this blog. Go check it out http://theintrepidbaker.wordpress.com/

I wish I can take stylistic pictures like hers!!!

She posted her recipe for Honey Soy Chicken and I tried making this dish recently.

Here's the recipe (I made some adjustments to the original list, highlighted in red):

8 chicken drumsticks (or wings)
1/4 cup vegetable oil
1/4 cup soy sauce
1/2 cup honey
1 tbsp of red wine vinegar (original recipe asked for 1/2  cup lemon juice)
1 tbsp cayenne pepper powder
1 tbsp paprika powder
1 thumbsize ginger, minced
1 tsp chili flakes (or chili powder), optional


1. Mix all the seasoning ingredients and rub it evenly over the chicken.
2. Let this marinate at room temperature for 30 minutes. 
3. Preheat the oven to 375F.
4. Place the chicken into a baking dish (I use Pyrex dish). Make sure it is not too crowded.

Keep the marinating juice


5. Roast the chicken for approximately 40 minutes or until done.

I used a brush to brush the marinating juice over the chicken every 15 minutes.

This is a surprisingly easy recipe to try since I have everything in my pantry except the chicken. The
chicken came out extremely moist, not dry at all, and the juice from the roasting added so much flavor to the chicken. I really like the sweetness of the honey which is balanced by a very small hint of cayenne and paprika.  


Pop quiz time!  

Did you know that paprika is actually made of different kinds of pepper (Bell pepper, chilli pepper) and it is actually very popular in Hungary?  (according to my Hungarian friend); while Cayenne pepper is made out of just one kind of pepper -- cayenne pepper :)


Wednesday, November 9, 2011

Grill Steak

I had a bbq a few weeks ago when the weather was still nice. This is our menu

1) Grill steak

I used Trip Tip beef cut for this steak. This cut is found at the bottom of sirloin and it is what I called "poor man's sirloin"  http://en.wikipedia.org/wiki/Tri-tip

I marinated the beef with Worcestershire sauce, thyme, oregano, and basil. 
 

2) Scallops

Frozen scallops that I found at Trader Joe's frozen food section

3) Asparagus

Plain old asparagus. I sliced the skin off the asparagus with a peeler. You can keep it on.

4) Shittake mushroom

Fresh mushroom. Hmmmm....yummy

I love this picture. All credits go to SL for composing and snapping this

It is cooking time!!!

Make sure the charcoals are pipping hot
Time is everything. The meat, the scallop and the asparagus all cook at different time. If you want to serve the all at the same time, then you must stagger the time when you load them onto the grill.

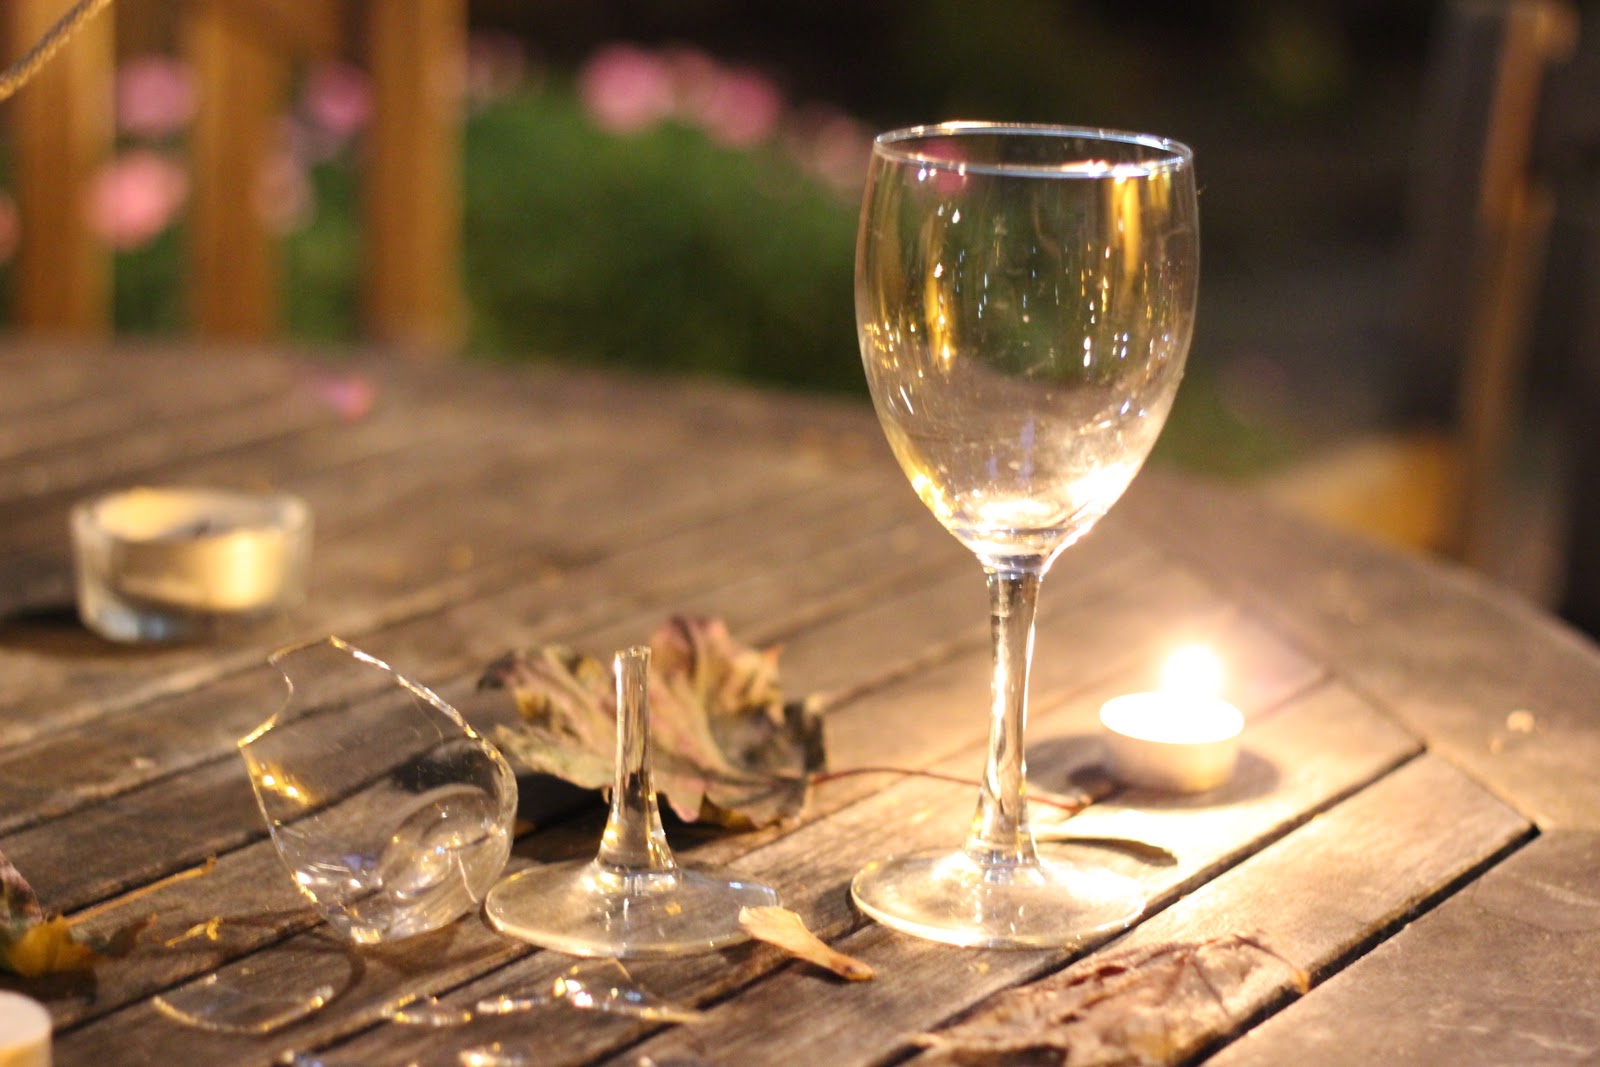
Enjoy  wine while waiting for the meat to cook

In general, it takes 7-9 minutes per side of steak (15-18 minutes total); 2 minutes per side of scallop (4 minutes total), and about 8-10 minutes for the asparagus.
I like the mysterious feel of this picture. Very dark.
Remember to rest the meat for 5 minutes after cooking.


I use the "poking technique" to determine the doneness


Let the wine flow and the meat be eaten.

Bell Pepper Beef

Quite frankly, I am not a big fan of Bell Peppers, especially when it is raw. However, I do like the taste of it when it is cooked, especially in a chinese stir fry dish.

So here it is, my version of Bell Pepper Beef.

The Green Party


In additional to bell pepper, I used jalapeno pepper.

Ingredients

Beef (the cut of your choice. I used Flank steak)
Bell Pepper (2-3)
Jalapeno pepper (1)  (this is optional, and the amount is all up to you)
Garlic (a few cloves)
Ginger (thumb size)
Shallots (2-3 small shallots)

soy sauce
salt
black pepper

Methods
1. Slice the beef as thin as you can. The thinner the more tender when it cooks.
2. Remove the seeds from the Bell Pepper and the Jalapeno pepper. Wash, clean and cut into small pieces. I cut my bell pepper length-wise.
3. Chop the garlic, ginger and shallots.


As always, make sure you start with a good size pot/pan

4. Stir fry the garlic, ginger and shallots until fragrance.
5. Add the beef and stir fry, keep the heat as high as possible. (Note: I like to do this in batches so that the beef can be seared evenly. If you add all the beef at once, you will lower the temperature in the pan and your beef will be "simmered" instead of "seared")


Stir Fry in action


6. When the beef is half-cooked, add the pepper.
7. Add a splash of soy sauce, a pinch of salt and some black pepper.


8. Keep stirring and frying until the bell pepper and beef are cooked.
So delicious


Thursday, October 27, 2011

Italian Cure Meat Sandwich

I fell in love with Italian cured meat recently. It all started with Prosciutto. The first time I had prosciutto was on a pizza many years ago. Odd choice for pizza toppings and I wasn't crazy about it back then. Prosciutto and I rekindled this summer after I bought some from WholeFoods. Prepackaged? yes. Is it the best quality? No.

But hey,  I liked it.

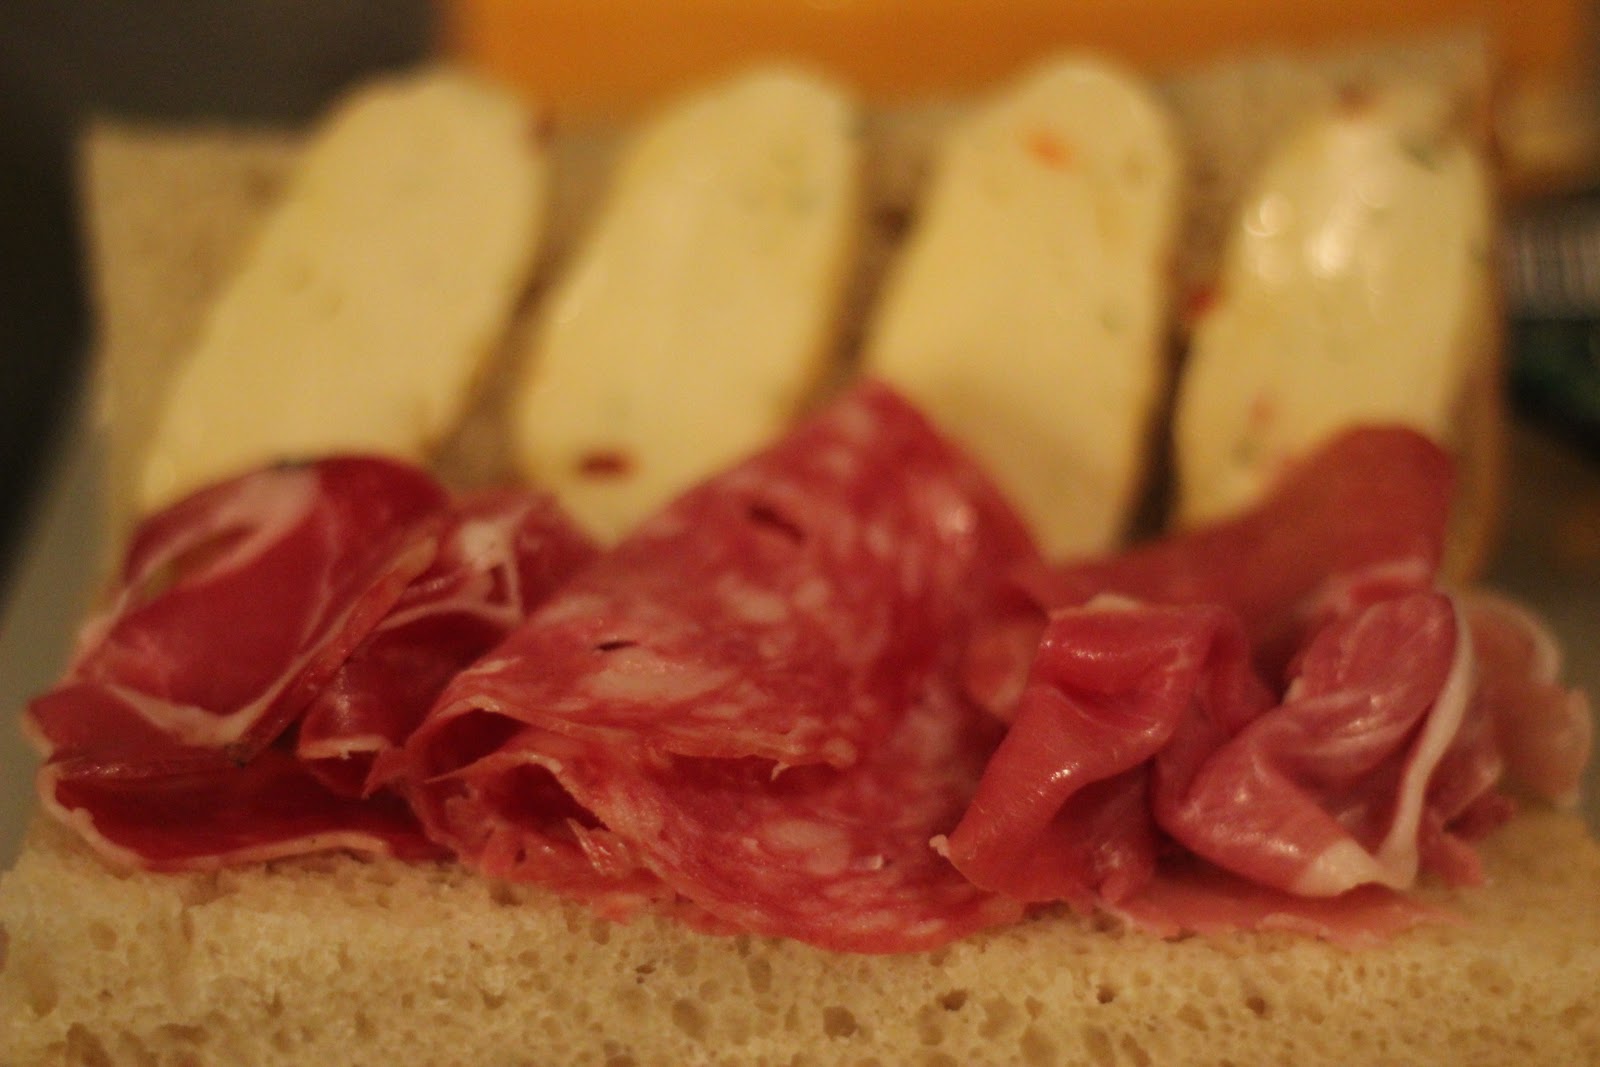
Capocollo, salami, prosciutto (L-R)

Since I have been shopping at Trader's Joe lately, I found their prepackaged Prosciutto that also comes with Salami and Capocollo.  Serve this with some seasoned/fresh mozzarella cheese, I got myself a decent meal.


Served with Focaccia bread


I also found this wonderful garlic infused olive oil that I drizzled on the sandwich.

If you ask me, I rather eat the cured meat on its own without the bread :)


Wednesday, October 26, 2011

Cheese Fondue/Queso

Although Cheese Fondue and Queso are two very different dishes, they are essential the same in my opinion --- melted cheese. I will be using the word queso in this post instead of cheese fondue because it has one less word :)

Cheese CAVE!!!!  


                              http://www.gourmet.com/travel/2008/10/vermont-cheese-cave

I can traced my experience with queso to 3 monumental moments :)  The first was a meal at a Tex-Mex restaurant outside of Houston, Texas. After a day of outlet mall shopping, we asked a store owner where to go, and I had my first queso. This was 5 years ago. That opened my eyes to the world of melted cheese.

My second experience was at a friend's football party. His wife made queso and I never left the side of the pot.

In between these years, I have made melted cheese by microwaving cheese (not a bad way), cooking cheese in a pot (i don't recommend this), or simply buy Queso dip from the store.

I had to use this picture!! so nerdy.
                                             http://globalmicrowave.org/microwaves.php


Taste pretty good. But only in the first 10 bites. 
The last monumental experience was a fondue dinner at the Melting Pot. It was at this dinner that I have decided that I need make this dish based on the technique I saw at Melting Pot. Why pay $15 for a pot of melted cheese???

Chopped vegies and apples, that looked like it were from Walmart, being served at the Melting Pot
http://buffalochow.com/2009/03/fondue_or_dont_expensive_uniqu.html


Long and behold, I bought two cheeses from Trader's Joe, (come on Trader's Joe, time to sponsor my blog).


Next, by taking a page out of Melting Pot's technique, I built a "Steaming device".


Fill a small pot with water and put a large bowl over it


Then I cut up the cheese to small pieces. Lesson learned here --- the smaller the better. Grate it if you can.

The cheese should be smaller than this


Next, melt the cheese in the bowl


Cheese and cream. Please pardon the picture quality. I am still learning how to take better pictures.


Finally, add some cream to the melted cheese.


Keep cooking (steaming) until the cheese becomes smooth.


Very stringy melted cheese. Not the liquid flow-y consistency that I expected. Good nonetheless


A bit blurry. Trying to take a picture with one hand holding the camera


I didn't add any seasoning to this dish. Just cheese and cream. But one can definitely spice it up a little by adding chopped onion/chives/herbs/splash of wine. I know of places that add fried bacon to the queso.

I am surprised by how easy it is to make this cheese fondue/queso. I used two kinds of cheddar cheese. I will definitely try other kinds of cheese in the future. Just not blue cheese :)   I read somewhere that it is a good idea to mix hard and soft cheese.

hope you will try making your own fondue and let me know how it goes.

Tuesday, October 25, 2011

Restaurant review - Bhojan


Bhojan is a vegetarian Indian restaurant in Murray Hill. Thanks to Aneesh's recommendation, I visited this restaurant. One of their main dishes is called Thali. It is actually "many little dishes" served on a big metal plate. http://en.wikipedia.org/wiki/Thali


Let's count the number of dishes on this plate.


Back from my home country, the dishes are served on a big piece of banana leaf.  

source http://foodiegoodietellthetruths.blogspot.com/2010/06/banana-leaf-rice-kanna-curry-house.html


You will not find their Thali options on Bhojan website but it is on their in-restaurant menu. Lynn and I ordered an Asram Thali and a Punjabi (if my memory serves me well) Thali.
Some of the ingredients you will find on a Thali at Bhojan include eggplant, beans, chic peas, pumpkins (seasonal), potato. cheese. The usual fair at a vegetarian Indian restaurant. 


Overall, it was a good meal. Lots of food, and good value too. Nothing to scream about but Bhojan serves up some delicious food. 

If you do not know what to order from their extensive menu, then I would recommend their Thali. As for me, I know what I like now and I will stick to ordering "a la cart".

Oh, did I mention the decor at Bhojan is very interesting??


Pretty nice decor

This should be easy, what do they use to decorate the ceiling?

Wine bottles as "lamp shade". Old tricks?


Hot Chai Masala to warm the belly


First timer? Give it a try.