I am a scientist who loves to cook because there are many similarities between working in a lab and cooking in a kitchen. I love to share my cooking experience with you and to inspire others to cook.

Wednesday, August 24, 2011

Egg Tart

I made egg tart a while ago and it turned out pretty yummy. Since then, i have not had the time to remake this dessert. However, I do have some ideas in mind on how to make variations on this classic dessert. Stay tune for it. At the mean time, feast on this link:

http://newyork.seriouseats.com/2011/08/favorite-egg-custard-tarts-in-manhattans-chin.html

The writer of the article samples many shops in chinatown to find the best egg tarts and the top three are
"Bread talk", "Golden Manna Bakery" and "Taipan"

Egg Tarts from Chinatown (www.seriouseat.com)

Sunday, August 21, 2011

Chicken Satay


Satay is a national dish in Malaysia and I have not met a single Malaysian who does not like satay, unless they avoid it for health reasons. Satay is simply a dish where marinated meat are cooked on open fire and served on skewers. Think “kebabs”. The two most common meats are chicken and beef but, in some places, you can find venison and rabbit satay, both of which I have not tried. There are four main components to a successful satay dish:
a)  Selection of meat --- it has to be dark meat such as chicken thighs/legs. White meat such as breast is simply the wrong meat to use if you want an authentic satay dish.
b)  Marinade --- very important component.
c)  Cooking method --- cooking on an open flame such as charcoal yields the best result because of the “charred” effect. Baking or pan-searing is the next best option albeit a poor substitution
d)  Peanut dipping sauce --- there needs to be some “heat” which is balanced by sweetness.


Chicken Satay (www.rasamalaysia.com)

Many restaurants in New York City, especially Thai and Vietnamese restaurants, serve satay as appetizer. Most of the places that I tried failed in one, if not more, of the main components listed above. Frustrated with not finding a satay dish that I am satisfied with, I have decided to take things into my own hand since I now have access to an outdoor grill.

One of the Malaysian cuisine blogs that I turn to from time to time is www.rasamalaysia.com. The author of the site has provided a stellar list of dishes and the recipes are usually tried, tested and improved.

Bellow is the recipe from www.rasamalaysia.com. The red color words are mine


Chicken Satay Recipe

Ingredients:
4 chicken legs and thighs (preferred) or 4 chicken breasts (boneless and skinless) (please, no chicken breast). I used chicken wings (approximately 10) because it cook faster.

Spice Paste:
1 teaspoon coriander powder (I use ½ tablespoon instead)
2 stalks lemongrass, white parts only
  (very important ingredient, you must not omit this)
6 shallots (peeled)
2 cloves garlic (peeled)
4 tablespoons cooking oil (
I used close to 1/3 cup, I find that 4 tablespoons of oil is insufficient to make a paste)
1 teaspoon chili powder (
I used ½ tablespoon because I like my satay to have some heat)
2 teaspoons turmeric powder (kunyit)
  (This is an essential ingredient. Although its main purpose is to provide the distinct yellow color on satay, I believe turmeric provides flavor that I don’t know how to describe. I used 1 tablespoon)
4 teaspoons of kecap manis (Indonesian sweet soy sauce) (
another essential ingredient. The sweetness of the dish brings out the flavor. I used 2 tablespoon)
1 teaspoon oyster sauce (
I personally think this is optional)
Bamboo skewers (soaked in water for 2 hours to avoid burning)


Bellow is the method, with my own modification noted in red letters

As a recap, the recipe asked for 4 chicken legs/breasts cut into small pieces but I used 10 chicken wings and grilled it whole.

Method:
1.  Grind the Spice Paste in a food processor. Add in a little water if needed. (I added a splash of soy sauce instead of water to add flavor).
2.  Marinate the chicken with the spice paste for 10-12 hours (or overnight).
3.  Thread the meat onto the bamboo skewers. I thread the wings onto the bamboo skewers. It takes some practice to straighten the wings on the bamboo skewers
4.  Grill for 2-3 minutes on each side. Serve. (This cooking time is just a guide. The time varies depending on the intensity of your heat source. Grilling takes practice, you can read up on the tips/techniques on the internet)

      The last component of this dish is the peanut dipping sauce. Since I did not make this sauce to go along with my satay chicken wings, I will simply provide you with the link to the recipe. Rest assured I will report it here when I make the sauce.  Satay peanut dipping sauce recipe http://rasamalaysia.com/malaysian-sataynow-with-peanut-sauce/2/

My version of Chicken Satay with whole chicken wings

      I am tremendously surprised by how good the chicken wing tasted. This dish received high praises all around from my food-testers. The crispy slightly-charred skin, the tender meat and the aroma, oh yes, the aroma, hit me off my socks. This is EXACTLY how satay smells and tastes like back home. It has been two weeks since I made this dish, the experience of eating the chicken wings still lingers in my memory, hopefully my food-testers' mind too. Can't wait to make satay again while the weather still permits.


Saturday, August 13, 2011

Meringue

This is a continuation from the Flan recipe. Since we were left with 4 egg whites, we were wondering what can we do with it. We can make an egg white omelet but since we were in a baking-mode, we decided to make a meringue.

Meringue is simply beaten egg whites + sugar. Some people use it as "icing" on the cake, some people bake it into cookies. We decided to make cookies. We got the recipe from the internet and it seems like a very standard straightforward recipe.


  1. Preheat oven to 250 degrees F. Lined a baking sheet with aluminum foil and set aside.
  2. Beat the egg whites on high speed with an electric mixer until soft peaks form. Gradually add sugar while continuing to beat until they hold stiff peak. (note: we beat the egg white for more than 15 minutes. It took a lot longer to reach stiff peak, and I think the main reason is that there were a tiny amount of egg yolk "contaminant". This is a big no no.)
  3. Drop small mounds of the mixture onto the prepared baking sheets, spacing 1 inch apart. 
  4. Bake for 1 hour in the preheated oven. Turn off oven, and leave the cookies in the oven for 2 more hours, or until centers are dry. Remove from pan and store in an airtight container. 


We didn't bake the meringue for 1 hour as instructed because the meringue began to turn brown in 15 minutes and we weren't sure if it will burn if we let it baked longer.

Before

After

Also, the meringue did not hold its shape after we took it out and we figured the reason was that the center was still soft. Perhaps we should trust the recipe and bake the meringue for 1 hour instead. Some even suggested 1.5 hours of baking.

The million dollar question is this.....

How on earth do people make meringue cookies that look white? Heat + egg white = browning. No?

http://howfoodswork.blogspot.com/2009/11/meringue-cloud-cookies.html   


http://www.just-meringues.com/


Monday, August 8, 2011

Butterscotch Flan


In Malaysia, this dessert is simply known as pudding and I learned the word Flan after I came to the US. This kind of dessert wasn’t readily available when I was growing up. After years of eating flan in America, I slowly develop a preference for flans that have softer texture and less egg-y.
I have recently borrowed a book from the library called “Ready for Dessert” by David Lebovitz. David was a pastry chef at Chez Panisse in San Francisco before “retiring” and moving to Paris to live a “sweet life”. I first learned about David Lebovitz through reading his book “The sweet life in Paris” when I was preparing for my trip to Paris a few years ago. I highly recommend “The Sweet life in Paris” if you are planning to visit Paris and if you love sweets. Anyways, back to the book “Ready for Dessert”, there is a flan recipe in this book and I have decided to make flan from scratch for the first time.

“Butterscotch Flan”

First, make the caramel. This version of caramel is called the wet caramel since water is used. Also, David Lebovitz is very particular about how you should make this.

Caramel
¼ cup of water + ¼ cup of water (yes, two sets of ¼ cup of water)  (why two sets? You will find out later)
¾ cup of granulated sugar
Pinch of crème of tartar or a few drops of lemon.


1.     Set ramekins or custard cups (I used small Pyrex bowls) in a roasting pan or deep baking dish (I used a rectangle cake pan).
2.     Spread the sugar on a heavy-bottom skillet. (Notes: You want to use a heavy-bottom skillet to prevent the sugar from heating too fast and unevenly)
3.     Pour in ¼ cup of water over the sugar. Do not stir the sugar.
4.     Cook over medium heat until the sugar dissolves
5.     Add crème of tartar or a few drops of lemon. (Notes: I found out later that “acid” prevents dissolved sugar from recrystallization).
6.     Continue cooking without stirring but swirl the pan if the sugar begins to brown unevenly.
7.     When the caramel turns dark amber in color and begins to foam a bit, remove from the heat and immediately add the remaining ¼ cup of water and stir the mixture. More foam will form but it will subside immediately. Make sure there is no harden pieces.

Notes:
You will need to pay attention when caramelizing because split seconds can turn good caramel to burnt caramel. Since this was my first time making caramel, I had to judge for myself what is dark amber color. (See picture bellow). Also, the foaming sugar can be a little scary if this is your first time making caramel. As long as you know what you are doing, and anticipate what is going to happen, you will be fine. I think the second cup of water is added to stop the caramelization process.

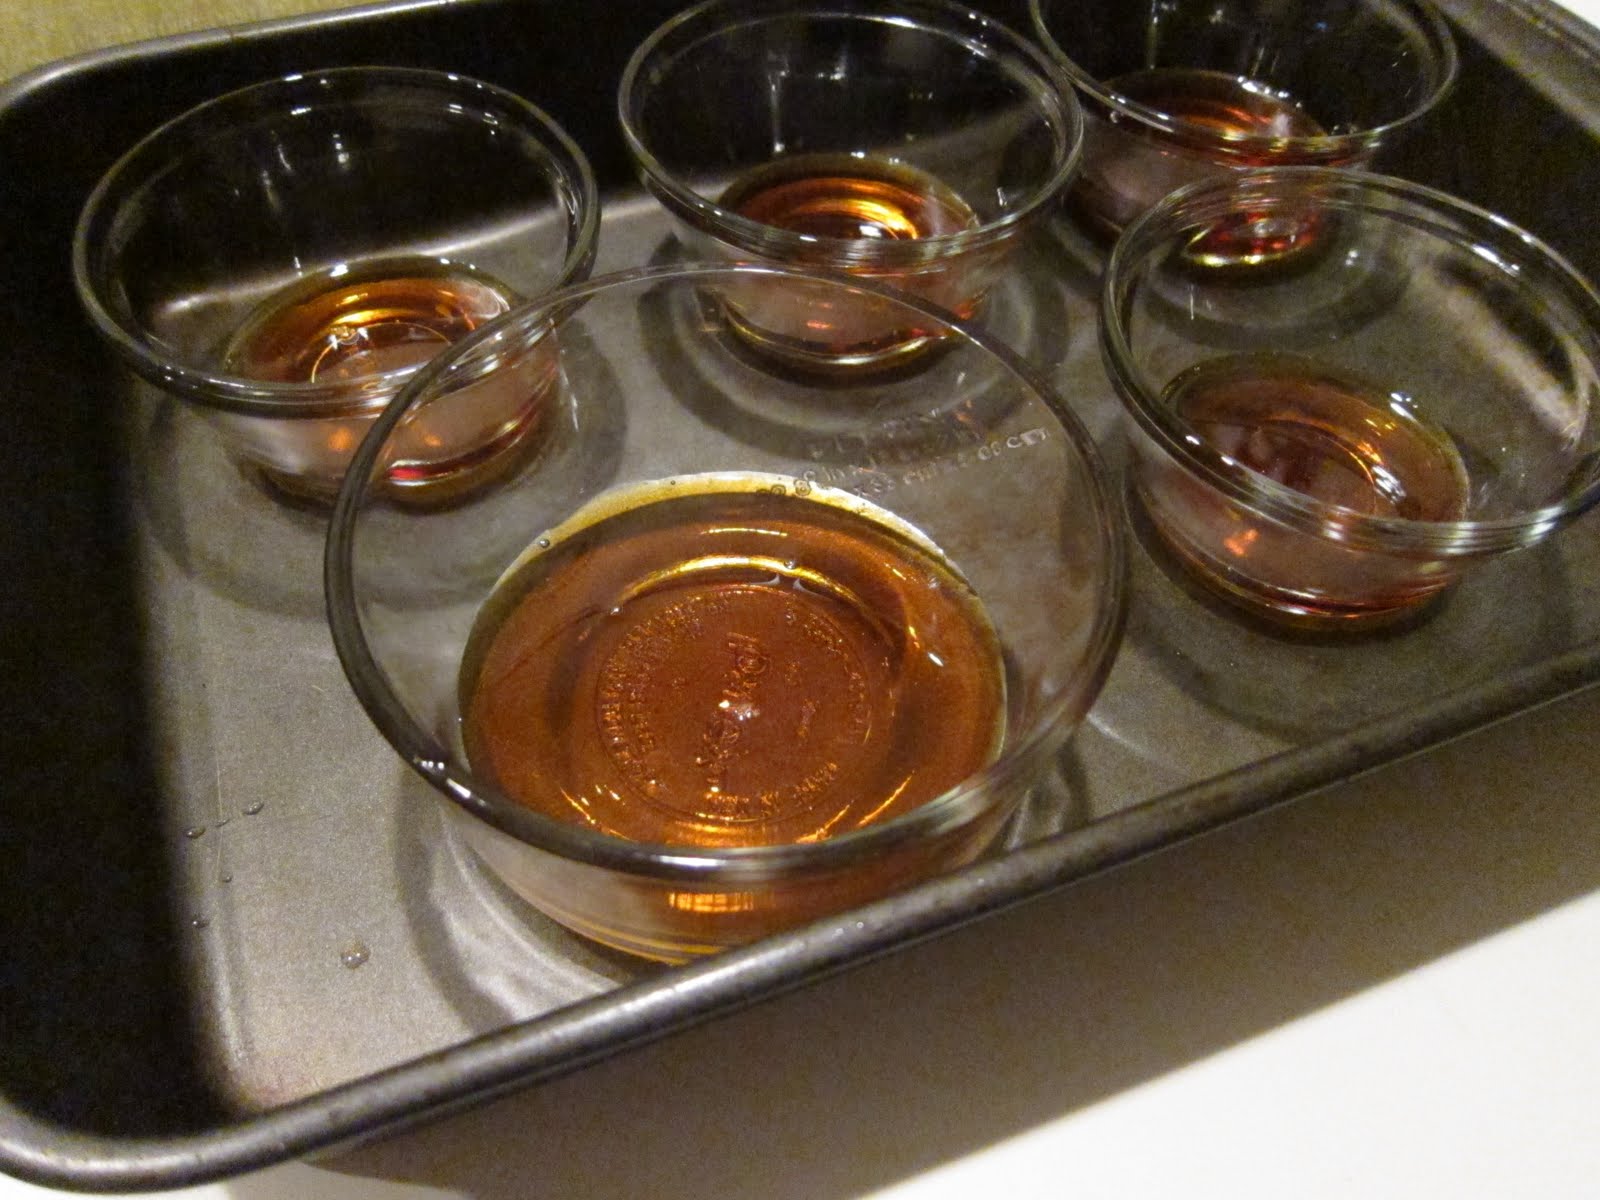
8.     Divide the caramel evenly into the ramekins or custard cups or in my case, small Pyrex bowls.
9.     Set this aside to cool. 

Dark amber color caramel


Custard
3 cups of whole milk
4 large eggs
4 large egg yolks
1 ¼ cup of dark brown sugar
¼ teaspoon of vanilla extract
a big pinch of salt

1.     Preheat the oven to 325F
2.     Warm the milk in a medium sauce pan/pot. (note: you want to use very low heat, you don’t want to boil the milk)
3.     In a separate bowl (use a large bowl), whisk the eggs and egg yolks.
4.     Pour the warm milk carefully into the bowl of whisked egg (hence large bowl) while gently stirs the mixture.
5.     Add the sugar, vanilla extract and salt. Whisk until the sugar dissolves completely
6.     Strain the mixture into a jug or another clean bowl.
7.     Pour the custard mixture over the cooled caramel (or use a ladle).
8.     Add warm water to the roasting pan/cake pan up to midlevel of the ramekins.

(note: you are essentially creating a water bath, and the reason for this is to allow gentler and even cooking of the custard)

9. Cover the entire cake pan with aluminum and put the pan into the oven. (Be careful, the pan is heavy)
10. Bake for 25-35 minutes
11.  Check the done-ness by shaking the ramekin gently. The edges should be set but the middle is still slightly jiggly.
12. Cover the flan and store it in the refrigerator for at least 3 hours. Overnight will be the best. 
13. Slide a knife around the custard and invert the flan on to a pan.


Straight out from the oven
Nothing but deliciousness

Notes:
1. I tried the first flan after 2 hours of cooling in the refrigerator. The center of the flan was still "liquid-y" like the core of a molten chocolate cake. This problem subsided when I tried the flan the following morning. 
2. This flan is on the softer side of the "texture spectrum", I would like it a little firmer. I think there are a few factors that affect the texture. One, cooking time, we baked this thing for 40 minutes, 10 minutes longer than the recommended temperature. Should I do this longer? Every oven is built differently. Perhaps I need to ensure that the center of the flan is less jiggly before I take it out. Second, I think how much water was added to the cake pan is also crucial. I added water higher than the mid point of the custard. In the future, I will add water slightly bellow the mid point of the custard. 
3. I am used to flan with "custard-color" interior. This flan is brown due to dark brown sugar. I will use regular sugar in the future.
3. I always thought butterscotch involves "scotch" but it does not. This recipe neither uses butter. It should just be called "Flan" :)

Overall, my food-testers all enjoyed the flan.  Making this kind of dish involves a lot of subjective judgements ie: caramel color, cooking time, and "jiggle-ness". In this case, the old saying is true, "practice makes perfect".


Wednesday, August 3, 2011

Herbal Chicken Soup

When I was growing up, soup is one of the main dishes on the dining table. In some families, you will find a big bowl of soup in the middle of the table where everyone would dip their soup spoon and drink from the same bowl of soup. Say what you want, but this kind of eating behavior does foster a deep sense of "oneness" and community sharing. However, in some families, everyone drinks from his/her own little bowl of soup.

One of the soups that mom often made was "Herbal Chicken Soup". The recipe is quite simple and straightforward. Put the herbs in the pot with the chicken and let it cook. The "challenging" part is to know what kind of herbs to put in the soup. For example, you often find basil, rosemary, oregano and thyme in Italian soup or basil, thyme, bay leaves, parsley in French soup. 

I put these three Chinese herbs in my Chinese Herbal Chicken soup (I will discuss the health benefits of Chinese herbs in another blog post in the future): 

Codonopsis pilosula root (党渗)


Astragalus propinquus root (北芪)


Lycium barbarum
goji berry/wolfberry(枸杞


Here is the recipe for one whole chicken. I like to use one whole chicken (skinless) for soup because it has more flavor. You can use bone-in chicken breast/legs/thighs. 


1. Clean the chicken with tap water and put the chicken in the pot.
2. Add enough water to cover the chicken and boil the chicken under high heat. Remove the scum as it floats to the top of the pot. (my personal preferred method is to dump the water away,  and simply add fresh tap water)
3. Put a handful of each herb into the pot (this is just an estimation) and add water (also estimation, you can always add more to dilute later).
4. Cook the soup with low heat for 3-4 hours. You want to gently simmer the soup.
5. Season with salt or soy sauce.
6. Serve the soup with a bowl of rice or cook some noodles with the soup.


(I am still in the process of buying a camera to take good blog-worthy photographs. So at the mean time, I will be using other people's beautiful pictures. Some of them have their website printed on the pictures, this is the best I can do now to give them credit).